
Tags
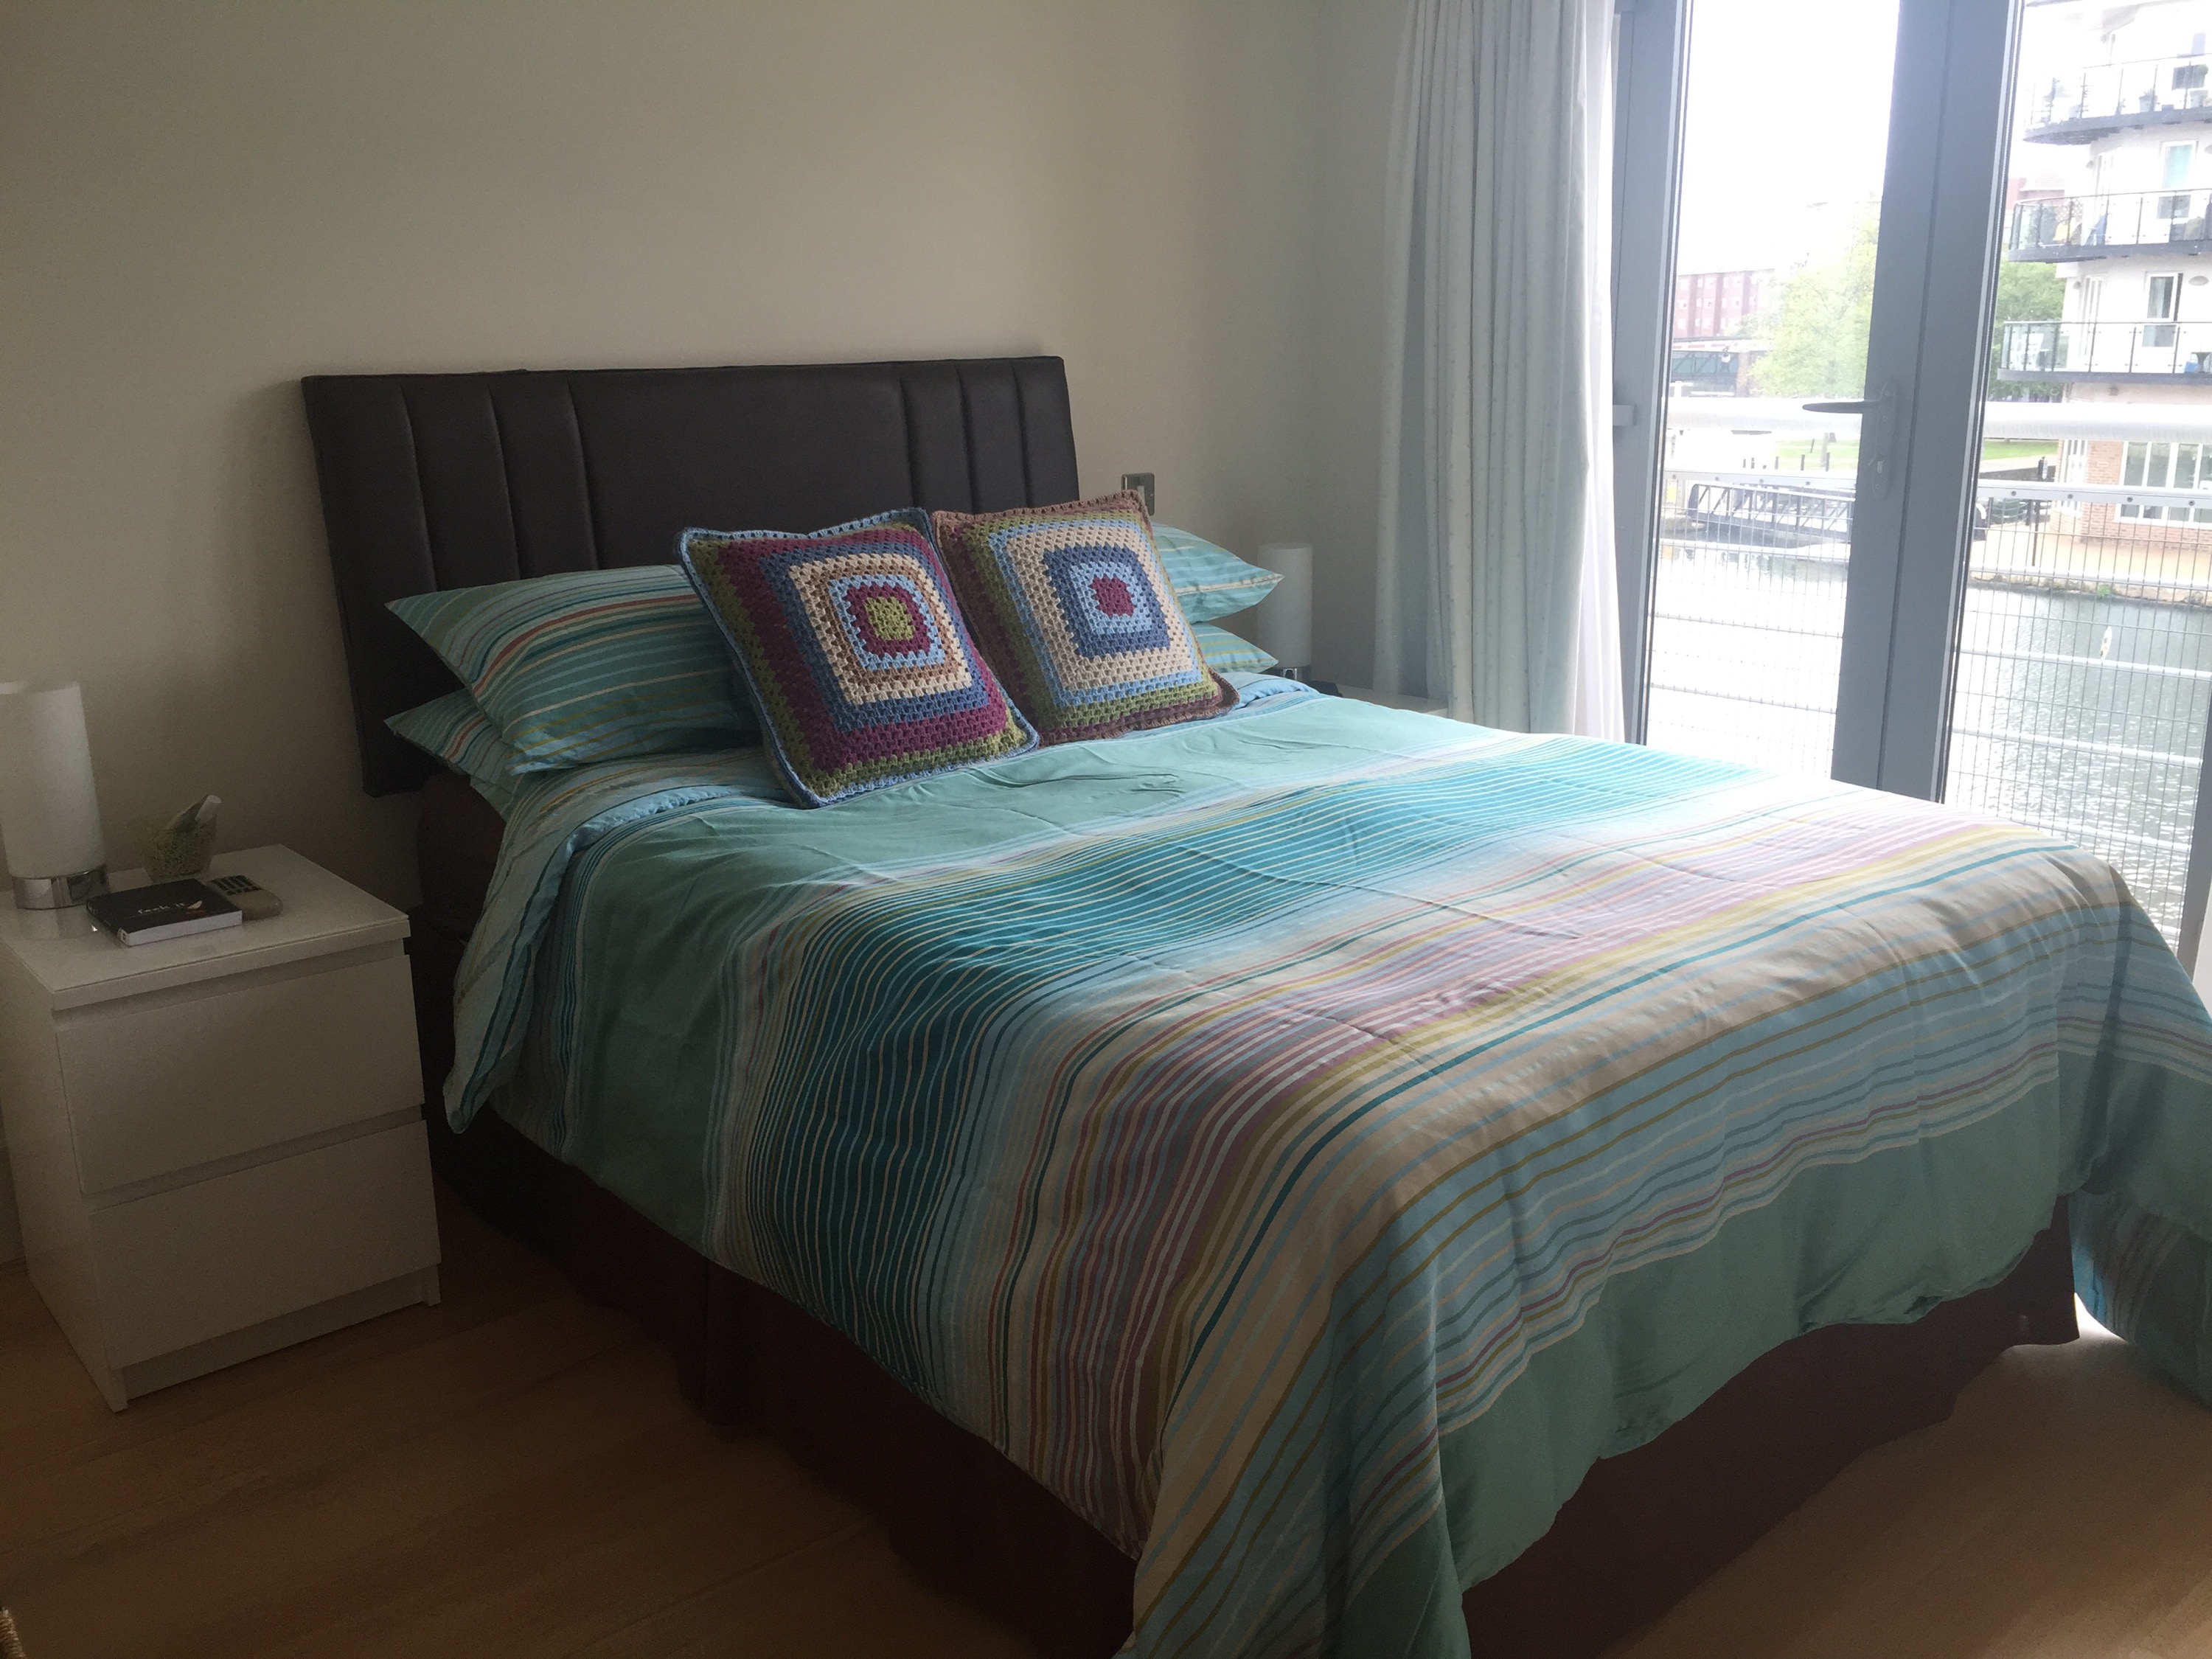
When you’ve been crocheting as long as I have, you sometimes need to do a bit of maintenance on your crochet pieces. Luckily I haven’t had anything unravel or fall apart, but what I do suffer with is saggy cushions. They didn’t become saggy by themselves, no it’s mostly due to me grabbing the cushions at one corner, and thereby stretching them out of shape, when I take them off the bed. User error in other words. In my defence these cushions are about five years old and they are used daily…
The cushions in questions are my very first two crochet projects. It’s because of them that I made the Identity Crisis Blanket because who can have cushions without a matching throw?

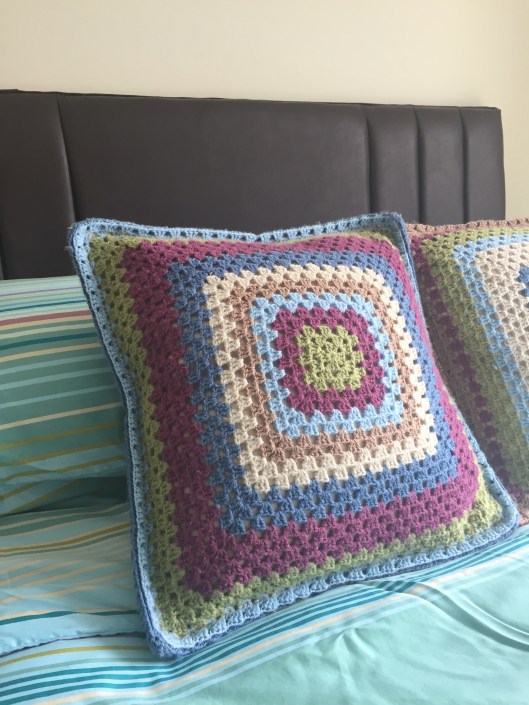
Do you see the green square in the centre of the cushion below? That was the very first thing I ever crocheted, back in August 2009. That square is the result of an afternoon in front of YouTube with a library book at my side and lots of swearing (from me), comforting words (from John) and cups of tea. There is no way I will ever get rid of the cushion, so when it started to look exceedingly saggy (much like its owner’s bottom) I had to fix it.

All I needed was a plan, a ball of Parchment Stylecraft Special DK and a 4 mm crochet hook.
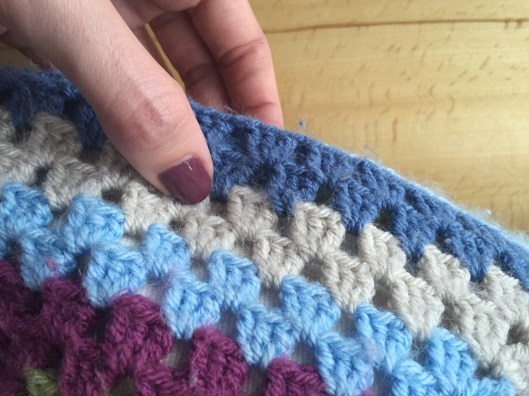
But first let me show you what I mean by a saggy cushion. Where my thumb is you can see the cushion inner if you look closely. That means there are about two rows of DC shells that don’t sit tight against the inner any more. Flabby and saggy indeed.
But my rescue plan worked! No more saggy cushions!
All it needed was a row of slip stitches around the posts of each DC in each shell, but going through to the corresponding DC post at the back at the same time. Between shells I worked a chain and on the corners I worked two chains. It’s super easy but also super effective.
The light blue DC post you see below, is from the back of the cushion. So here you can see how I place my crochet hook to do a slip stitch over the post of the front and back DC stitch:

Three slip stitch made over the three DCs of the shell:

This is how it look at the back:

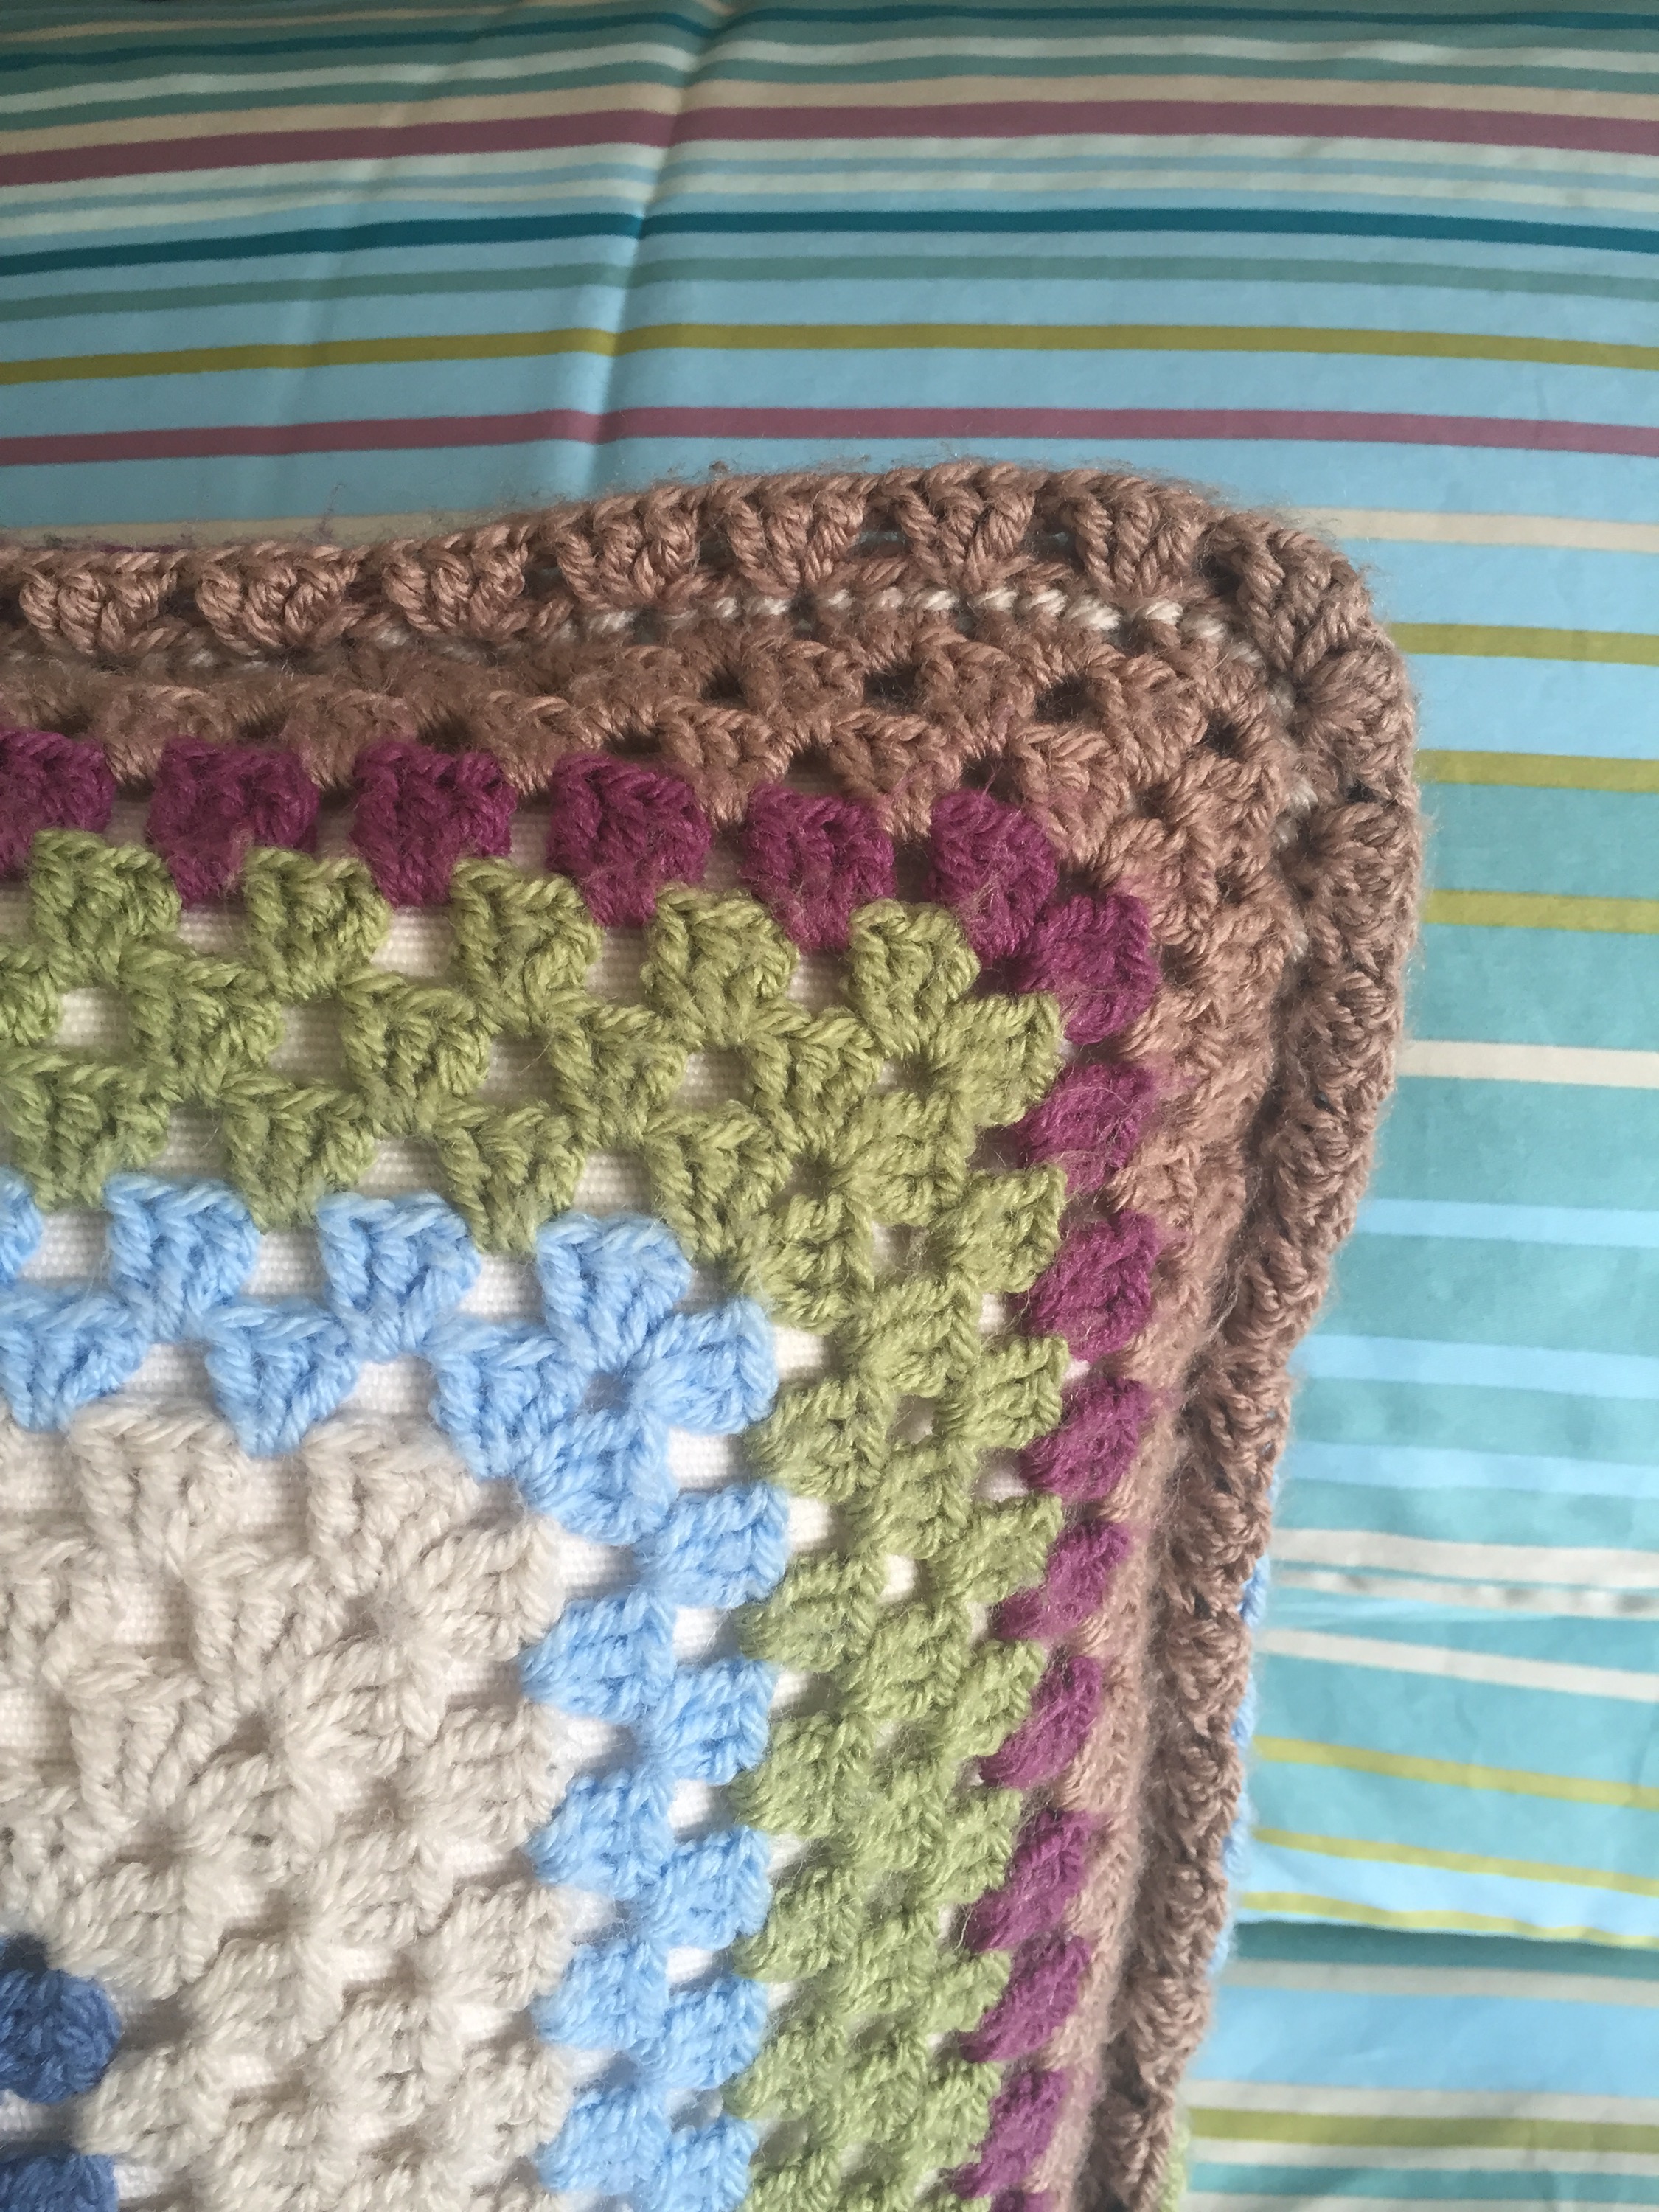
Behold saggy cushions no more – in fact they now have A Bit Of An Edge.
The slip stitches on the front makes for a lovely detail which I like.

And in the back the stitches are almost hidden and all you see is the indentation.
So there you have it! If your cushions have stretched out of shape and are in need of restoration, give this method a go. I actually think the row of slip stitches finishes off the cushion so you may want do it on purpose for your next cushion – just make your cushion two rounds bigger than it needs to be, and add a round of slip stitches around the posts of the front and back DCs! The only down side is that you can’t have a cushion opening along a side, you would have to do an envelope style opening at the back.
Now if I can only sort out my saggy bottom, I’d be one happy lady.

This looks fantastic and what a great fix!
Great Idea! 😃
I love this idea. Absolutely perfect way to make big grand changes (in my opinion) without having to give up the cushion cover. 🙂 Gorgeous.
Love this idea – I really should start using cushion pads instead of just filling them with stuffing – then I could do this too!
Very clever and crafty. Well done!
Thanks Mom