• Home
  • About me
  • Contact me
  • Crochet How To Links
  • Photo Tutorials
  • Patterns I Designed
  • Crochet For Kidneys
    • Part 1
    • Part 2
    • Part 3
    • Part 4
    • Part 5

crochetime

~ So many patterns, so much yarn, so little time: story of my hooky life.

crochetime

Tag Archives: crochet cushion

Iznik crochet cushion with beads

30 Thursday Jul 2015

Posted by Natasja in In the press, My crochet, My ramblings, Pattern

≈ 7 Comments

Tags

beaded crochet, crochet cushion, Inside crochet

Other people have goals like climbing Mount Everest, seeing the world or being CEO of a big company. Me? I wanted to have a pattern published in a UK crochet magazine and today I can tell you that I achieved my goal. Consider Everest climbed, the world seen and business cards printed – issue 68 of Inside Crochet magazine holds a pattern which I designed: the Iznik crochet cushion.

iznik crochet cushion

It was during a visit in June 2014 to the V&A Museum that I first saw the pottery made in the Turkish town, Iznik, and the geometric & floral designs of the tiles in the Turkish and other Islamic mosques. I fell in love with the dark blue, turquoise, sage green and highlights of red used by the craftsmen more then 500 years ago. Ever since that visit to the V&A Museum I wanted to make something that would at least incorporate the four main colours of Iznik pottery, but ideally also be geometric and/or floral.

Iznik tiles
Iznik tiles
Tile detail. Turkey 1580. Exhibited at the V&A Museum, London
Mihrab in Rüstem Pasha Mosque. Photo credit: DSC04142 Istanbul - R stem Pasha camii - Foto G. Dall'Orto 26-5-2006.
Mihrab in Rüstem Pasha Mosque. Photo credit: DSC04142 Istanbul – R stem Pasha camii – Foto G. Dall’Orto 26-5-2006.

When I received the Inside Crochet email for pattern submissions and saw that issue 68 was themed around adventure and travel I knew this was the perfect opportunity to crochet that Iznik inspired piece – and achieve my goal of having a pattern published in an UK magazine.

Iznik Cushion Flying colours page

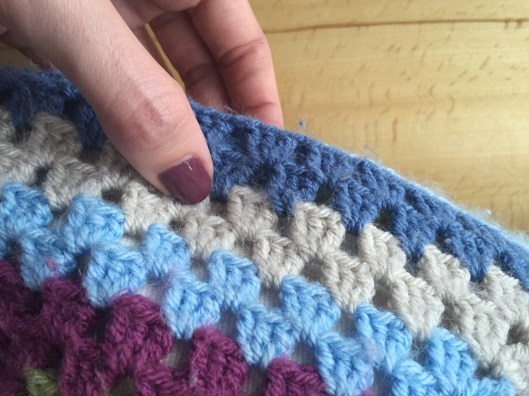
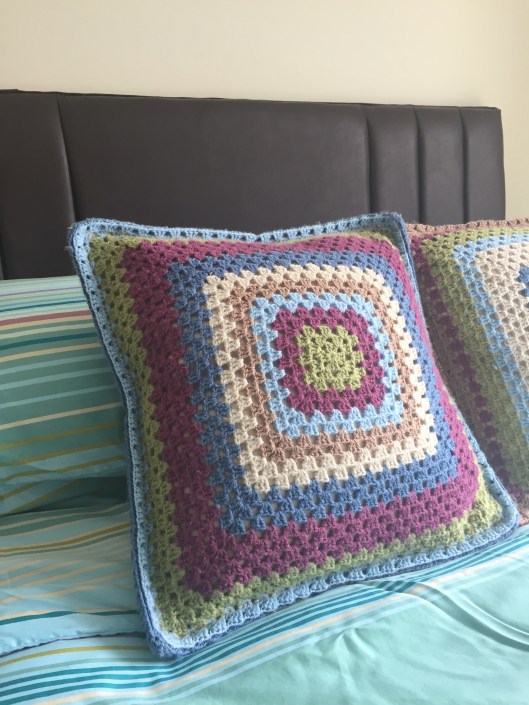
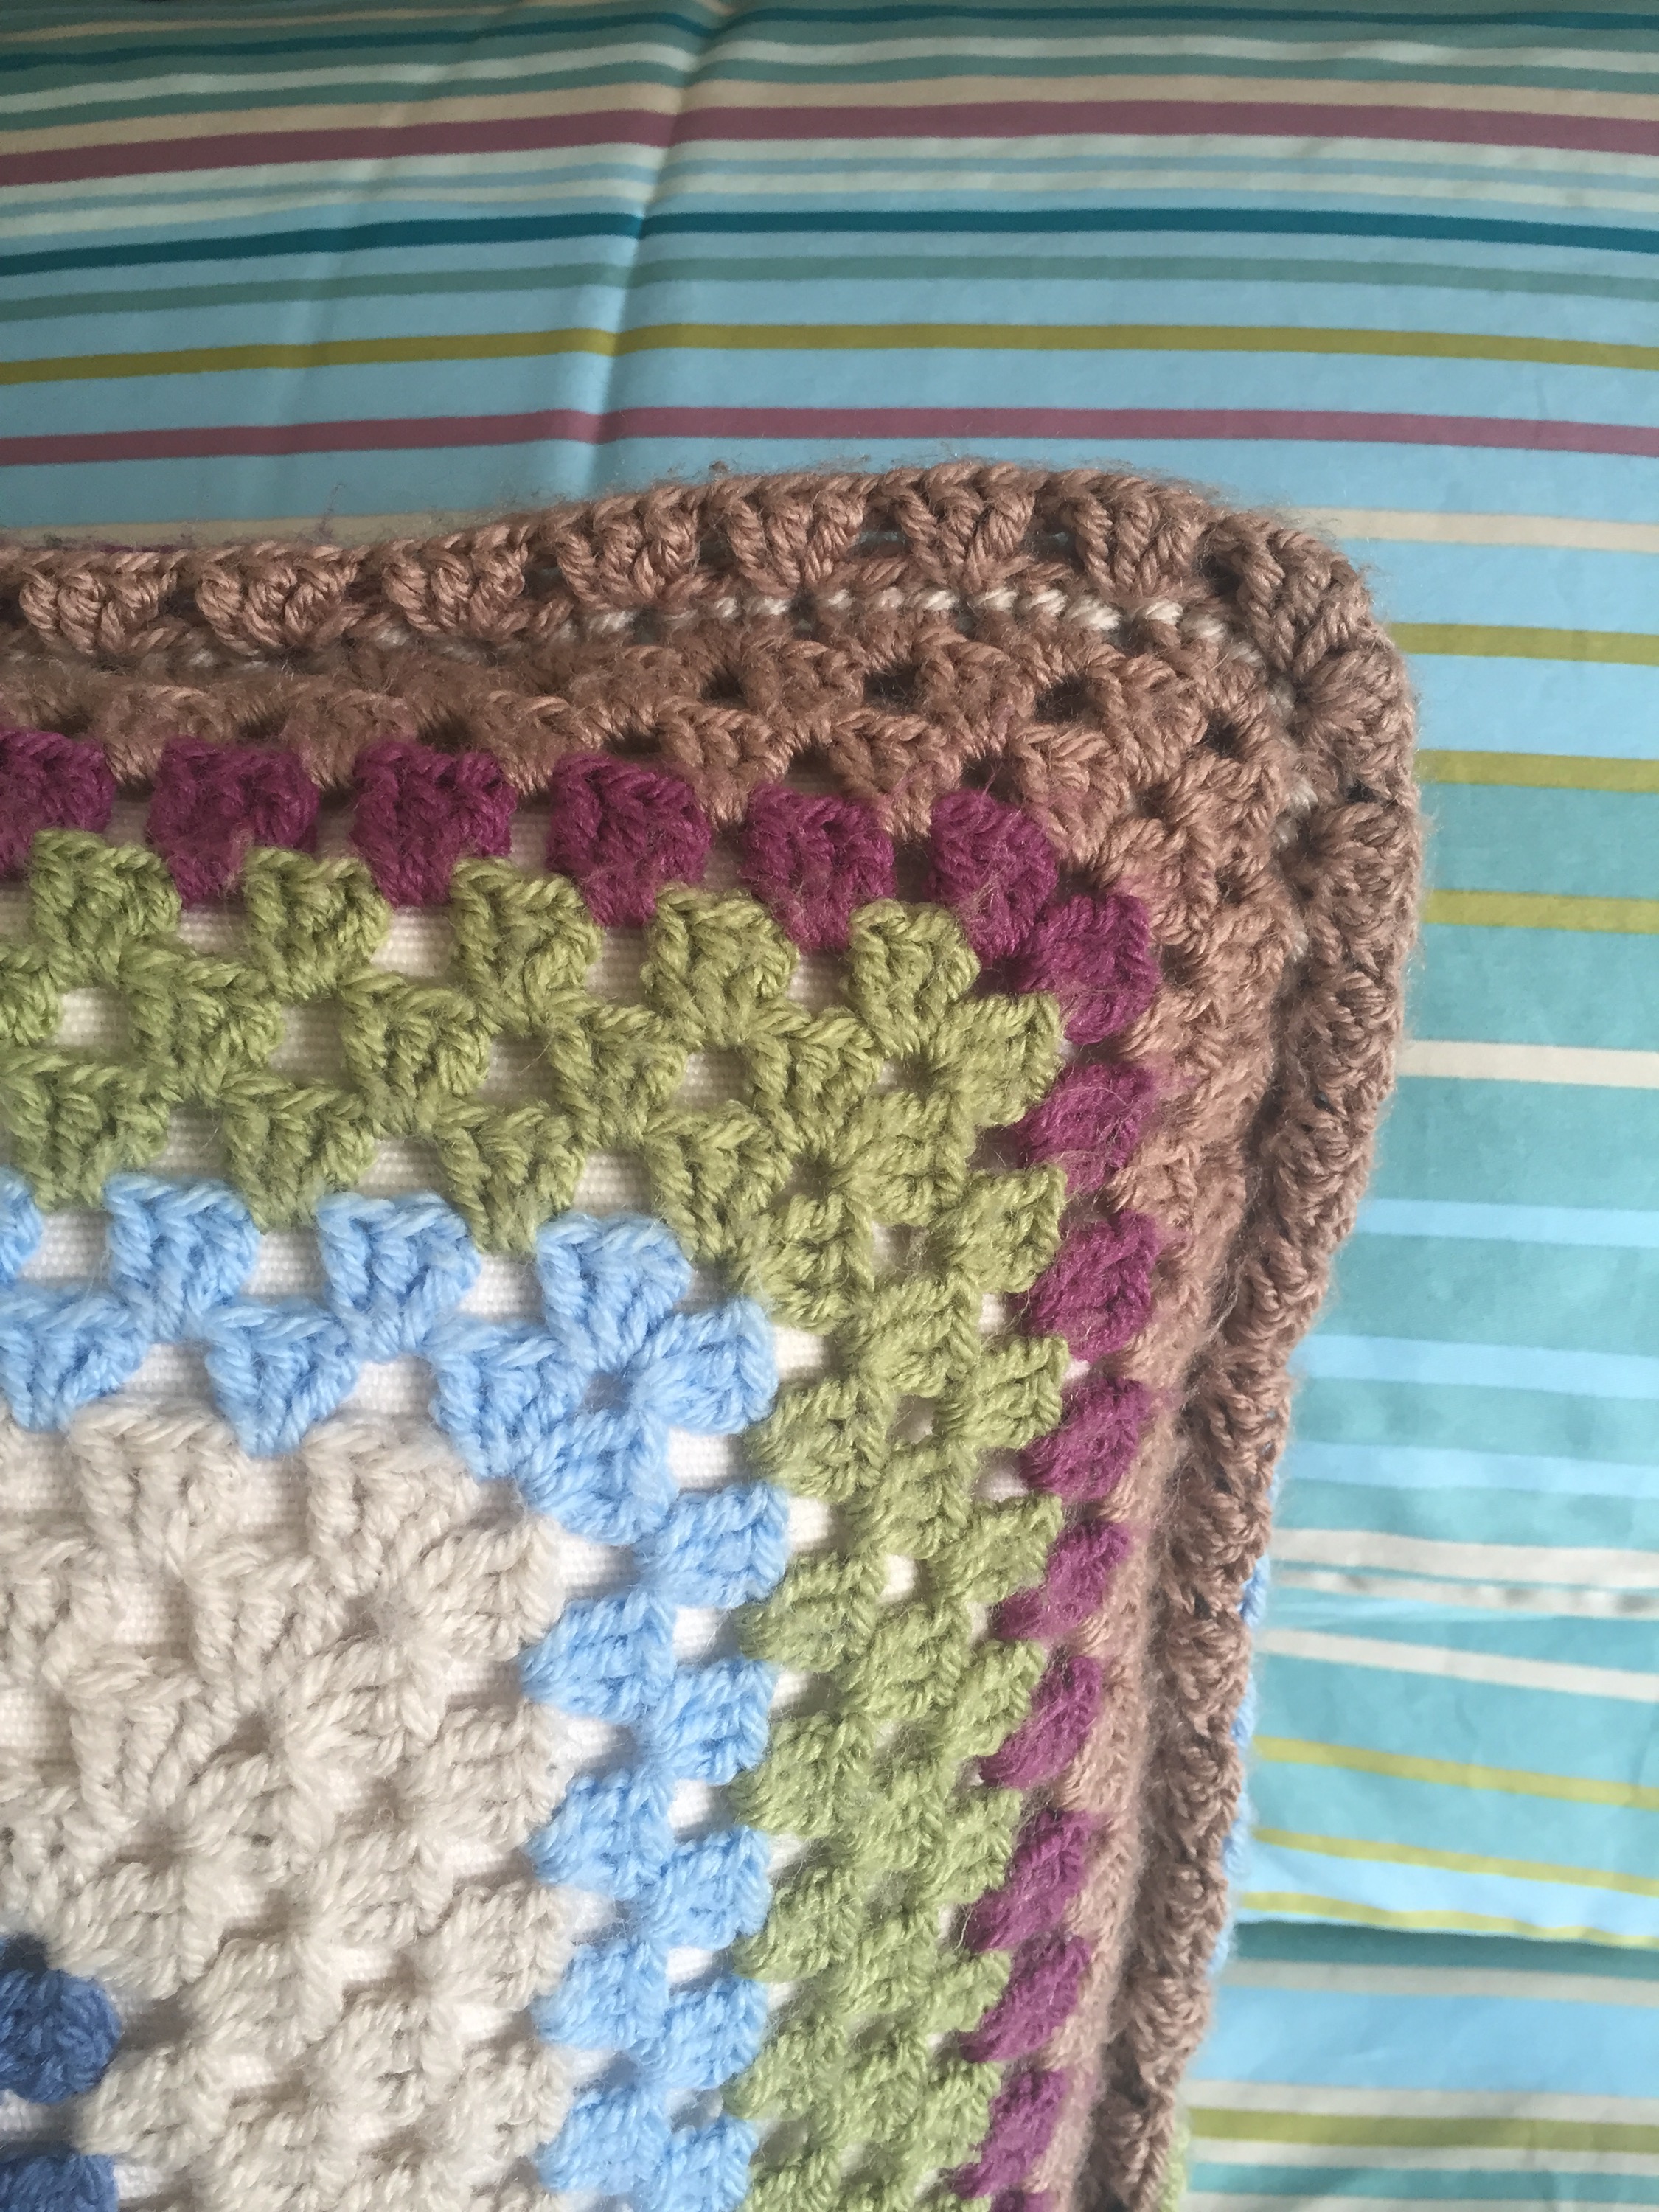
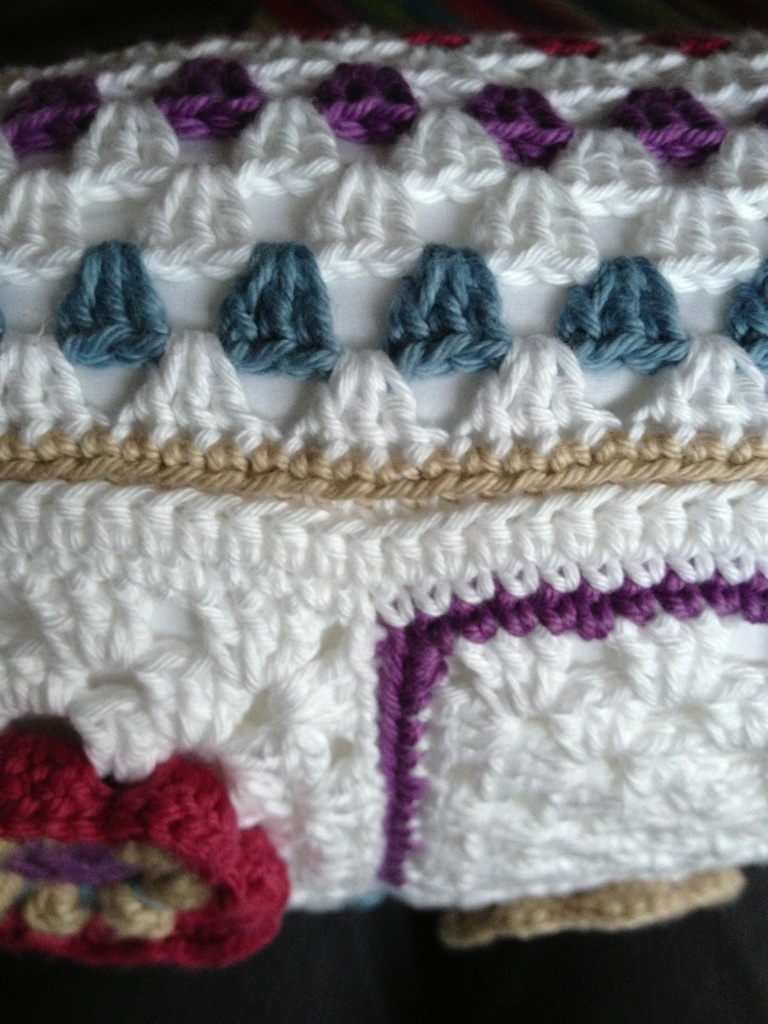
I designed the cushion so that the white joins between the squares could represent the tile grout and by crocheting squares, but dividing them into two coloured triangles, I reference the tile inspiration and create an intricate geometric design all one. In Iznik pottery the main colours are turquoise and dark blue. Sage green was introduced later and red even later still so my colour scheme reflects this.

I imagined that my red beads are like tiny flowers which sparkle when the sun rays catch them. The red glass beads are my favourite part of the cushion. I liked them so much I even used them for the back.

In the pattern I describe how to make the BDC (beaded double crochet) stitch and how to thread your seed beads onto the yarn before you start crocheting. In fact, Nicky Hale also designed a cushion for this issue using beads (it’s the beautifully bright zig zag bolster next to my cushion in the photo above) and the editors thought it a good idea for her pattern to have a reference to my pattern for the instructions on how to thread seed beads onto yarn.

Still not sure how to thread seed beads onto yarn? Fear not. As part of the iBook I wrote, Crochet Pretty, I made a video to show my readers exactly how to thread those seed beads which I will share with you now.

Here is the video that shows you exactly how to thread seed beads onto yarn:

See, it’s very easy. Once you’ve crocheted with beads you’re not going to want to stop. It’s such a fun and effective way of adding a little something special to your work.

Inside Crochet issue 68 will be available in stores from 30 July and as a digital download here.

If you decide to make the Iznik cushion, I would love to hear from you! Inside Crochet has listed the pattern on Ravelry so you can link your project. Just follow this link to the Ravelry project page.

Old cushions get a bit of an edge

04 Monday May 2015

Posted by Natasja in My crochet, My ramblings

≈ 6 Comments

Tags

crochet, crochet cushion

When you’ve been crocheting as long as I have, you sometimes need to do a bit of maintenance on your crochet pieces. Luckily I haven’t had anything unravel or fall apart, but what I do suffer with is saggy cushions. They didn’t become saggy by themselves, no it’s mostly due to me grabbing the cushions at one corner, and thereby stretching them out of shape, when I take them off the bed. User error in other words. In my defence these cushions are about five years old and they are used daily…

The cushions in questions are my very first two crochet projects. It’s because of them that I made the Identity Crisis Blanket because who can have cushions without a matching throw?

Do you see the green square in the centre of the cushion below? That was the very first thing I ever crocheted, back in August 2009. That square is the result of an afternoon in front of YouTube with a library book at my side and lots of swearing (from me), comforting words (from John) and cups of tea. There is no way I will ever get rid of the cushion, so when it started to look exceedingly saggy (much like its owner’s bottom) I had to fix it.

All I needed was a plan, a ball of Parchment Stylecraft Special DK and a 4 mm crochet hook.

But first let me show you what I mean by a saggy cushion. Where my thumb is you can see the cushion inner if you look closely. That means there are about two rows of DC shells that don’t sit tight against the inner any more. Flabby and saggy indeed.

But my rescue plan worked! No more saggy cushions!

All it needed was a row of slip stitches around the posts of each DC in each shell, but going through to the corresponding DC post at the back at the same time. Between shells I worked a chain and on the corners I worked two chains.  It’s super easy but also super effective.

The light blue DC post you see below, is from the back of the cushion. So here you can see how I place my crochet hook to do a slip stitch over the post of the front and back DC stitch:

Three slip stitch made over the three DCs of the shell:

This is how it look at the back:
 

 Behold saggy cushions no more – in fact they now have A Bit Of An Edge.
 

The slip stitches on the front makes for a lovely detail which I like.

And in the back the stitches are almost hidden and all you see is the indentation.

So there you have it! If your cushions have stretched out of shape and are in need of restoration, give this method a go. I actually think the row of slip stitches finishes off the cushion so you may want do it on purpose for your next cushion – just make your cushion two rounds bigger than it needs to be, and add a round of slip stitches around the posts of the front and back DCs! The only down side is that you can’t have a cushion opening along a side, you would have to do an envelope style opening at the back.

Now if I can only sort out my saggy bottom, I’d be one happy lady.

Granny Square In Bloom cushion

04 Sunday Aug 2013

Posted by Natasja in My crochet, My ramblings, Pattern, Ta-daah!

≈ 8 Comments

Tags

crochet, crochet cushion, crochet flower, free crochet pattern, granny square

You know that square motif I’ve been telling you about that had me so excited? Well, here it is. It’s called Granny Square In Bloom.

Granny Square in Bloom cushion.jpg

crochet flower granny square in bloom.jpg

I used the squares to make a cushion for my very good friend Liezel, as a birthday present (you can see her photography blog here).

She reads this blog and follows me on Instragram so I couldn’t post regular photo updates. I gave her the cushion yesterday which means I can finally reveal it to my lovely blog readers. The cushion was a huge hit! I’m so glad that I could make her happy with something handmade.

Liezel went home and took these photos of the cushion in it’s new home.

Liezel_Fourie Instagram crochet cushion collage.jpg

As you can see, she has a bird theme for the cushions on her bed. I wanted to stick to her theme, so I used three Red Robbin buttons. Aren’t they cute?!

red robin button.jpg

Nitty-gritty of the cushion:

  • Yarn: Stylecraft Cotton Classique in White, Rowan Handknit cotton in Ice Water, Raspberry, Linen and China Rose.
  • Crochet hook: 3.5 mm
  • Pattern for the front: Eight traditional granny squares of 4 rounds each in white, finished off with a row of SC. (Each of the four colours were used for two squares.)  Plus the eight 3-dimensional flower squares which are my own design. I call it Granny Square in Bloom squares. The pattern is available for free on the Photo Tutorials tab, in this blog post and also on Ravelry. I didn’t add a row of SC on the flower squares.
  • Pattern for the back: Traditional granny square of 19 rounds. Each colour round is seperated with two white rounds. I edged the granny square with SC in Linen.
  • Construction: The 16 squares which together forms the front, and the three side seams were sewed together with a slip stitch seam as described here on the Simply Crochet website. For the opening I slip stitch-joined up to the first shell on each side so that it would form neat corners.
  • Inner: Microfibre 16″ inner bought from Design-a-Cushions. Design-a-Cushions recommend purchasing an inner one inch bigger than your cover. I therefor made sure my covers were 15″ squared. Doing it this way gives you a perfect puffy cushion. I can highly recommend Design-a-Cushions. They are my favourite cushion inner supplier in the UK.
  • Red Robin Button: Natural Shell Zakka buttons that I bought on eBay from this seller.

crochet cushion seam.jpg

I thoroughly enjoyed designing the square, knowing that my friend will be the very first person to own something made in that design. Liezel, I hope you have the sweetest of dreams when you’re resting your pretty head on the cushion.

Lots of love

Jou maatjie, Natasja

Enter your email address to follow this blog and receive notifications of new posts by email.

Join 2,706 other subscribers
Follow crochetime on WordPress.com

Follow on Bloglovin’

Social

  • View NatasjaKing’s profile on Instagram
  • View Natasja King’s profile on Pinterest

The eBook I wrote

Recent Posts

  • Edward’s Crochet Imaginarium and two pink monsters
  • Review of How To Crochet book by Mollie Makes
  • Buttercup knit and crochet cardigan
  • Kimono Cardigan
  • The Sky is the limit

Categories

As seen on TV Book reviews CAL Camping Crochet For Kidneys Etsy Etsy seller interviews Folksy GIF In the press Knitting Markets My book My crochet My knitting My ramblings Other people's crochet Part 1 Part 2 Part 3 Part 4 Pattern Photo Tutorial Positive Thinking Ta-daah! Terrific Tuesdays Video Watch me crochet Wednesdays Yarnbombing

Instagram

No Instagram images were found.

My designer profile

Blog at WordPress.com.

  • Follow Following
    • crochetime
    • Join 718 other followers
    • Already have a WordPress.com account? Log in now.
    • crochetime
    • Customize
    • Follow Following
    • Sign up
    • Log in
    • Report this content
    • View site in Reader
    • Manage subscriptions
    • Collapse this bar
 

Loading Comments...
 

    Privacy & Cookies: This site uses cookies. By continuing to use this website, you agree to their use.
    To find out more, including how to control cookies, see here: Our Cookie Policy