• Home
  • About me
  • Contact me
  • Crochet How To Links
  • Photo Tutorials
  • Patterns I Designed
  • Crochet For Kidneys
    • Part 1
    • Part 2
    • Part 3
    • Part 4
    • Part 5

crochetime

~ So many patterns, so much yarn, so little time: story of my hooky life.

crochetime

Tag Archives: free pattern

Crochet a caravan keychain

28 Thursday Aug 2014

Posted by Natasja in Camping, My crochet, Pattern

≈ 12 Comments

Tags

camping, caravan, crochet, free pattern, keychain

We’ve now been camping for a month and as you can probably tell from my post-weekend blog posts, we love it! Since I love crochet too, it would only follow that I will crochet camping / campervan / caravan goodies and here is the first one: a caravan keychain.

crochet a caravan keychainYou can whip this caravan keychain up with scraps of yarn in less than a hour.

You will need double knit or light worsted cotton yarn in two shades and a 4 mm crochet hook. Also light grey yarn for embroidery and two small black buttons.

I wrote the pattern in US crochet terms. In UK crochet terms, the SC = DC, HDC = HTR, DC = TR, TR = DTR.

Caravan body. Make two:

Row 1: With colour A (blue in my example) chain 11, SC in the 2nd chain from hook (10 sc)
Row 2: Chain 1, 2 SC in same stitch, 10 sc, 2 SC in same (12 SC)
Row 3: Chain 1, SC in each stitch (12 SC).
Row 4 Chain 1, SC in each stitch (12 SC). Change to colour B (white in my example).
Row 5 – 7: Chain 1, SC in each stitch (12 SC)
Row 8: Chain 1, sc2tog, 8 SC, sc2tog (10 SC)
Row 9: Chain 1, sc2tog, 6 SC, sc2 tog (8 SC). Fasten off.

Door:
Row 1: With colour A chain 4, SC in the 2nd chain from hook (3 SC).
Row 2 – 4: Chain 1, SC in each stitch (3 SC). Change to colour B.
Row 5 – 6: Chain 1, SC in each stitch. (3 SC). Fasten off.

Window and doors:
Use light grey yarn and backstitches to embroider the door onto one of the caravan panels. Use french knot for door handle. Use back stitch to embroider the window. The bottom line of the window should be worked over 4 SC. Work one side diagonally across two rows. The top upper line of the window will then be worked over 3 SC.  Space the window and the door one SC apart.

Repeat the window design on the the second caravan panel, replacing the door with a second window.

Chain:
With colour B chain 22 and fasten off. Use the tail end to sew the chain onto the wrong side of one of the caravan panels, positioning it at the top left corner. Make sure not to stich through to the right side when sewing on the chain.

Finishing:
Sew on a small black button on each caravan panel, positioning the buttonholes in line with the bottom of caravan. Using neat overhand stitches, sew the two sides together with matching yarn.

Caravan keychain front with words

Caravan keychain back

I hope you enjoy making the cute caravan keychain. Please link your keychains to the pattern on Ravelry so that I can see all the happy hooky caravans!

Cross stitch for crochet placemats

11 Sunday May 2014

Posted by Natasja in My crochet, Pattern, Photo Tutorial, Video

≈ 12 Comments

Tags

blocking, crochet, cross stitch, deramores, embroidery, free pattern, photo tutorial

Today I’m sharing a super easy crochet placemat pattern with you. You’re probably thinking that placemats are very boring right? Boring and practical. Who wants boring and practical? Not me! I want interesting and different, so I added a bit of cross stitch. Not just any cross stitch, no I added an exact replica (minus one tiny prongy detail) of the King Household’s knives and forks!

Check it out.

IMAG0233

I love it! With these placemats your table is always set even if you eat with your hands. How very civilised.

IMAG0235So how did I do it? It’s dead easy.

To make the placemats you will need double knit cotton in three shades and a 4 mm crochet hook. I used Stylecraft Classique Cotton DK in Azure and Soft Lime and Rowan Handknit Cotton in Mist. Sadly Mist has now been discontinued but you can use white or any light grey yarn.

My placemats are 30 cm x 45 cm. The green one is worked in trebles and the blue placemat in half trebles. To achieve this size, I worked 33 rows of trebles and 43 rows of half trebles. The foundation chain for the green treble square was 54 chain stitches (51 plus 3 for the turning chain) and 53 chain stitches (51 plus 2 for the turning chain) for the turquoise half double crochet square. In both cases I did the big square first and then joined the other colour to the top and the bottom and worked 10 rows of double crochet. I don’t want to call it a pattern, because it really isn’t and you will make your placemat to fit your table / breakfast bar / lap tray. Use my rows and chains as a guide.

I may not have written up a proper pattern, but I would like to pass on some handy tips for you.

HANDY TIP 1: place a stitch marker in your first and last hdt or tr. That way you will know where to insert your hook for the next row and wont accidentally create extra stitches on the sides. In patterns where the turning chain counts as a stitch (for these placemats I didn’t count the turning chains) you will place the marker in the top chain of turning chain. So if you are working in hdt, place the stitch marker in the 2nd chain, and for a trb place it in the 3rd chain. Stitch markers are, I dare say, essential where turning chains are to be counted as stitches. I think apart from my crochet hook en scissors, stitch markers are probably my most valued crochet tool.

where to place stitch markers

HANDY TIP 2: to save you from weaving away the tail end when you join the new colour for the double crochet side panels, flick the tail end of the new colour over your working yarn as you make the stitches. The tail end will magically grow shorter and eventually disappear, yet be safely encased within each stitch. It’s a very clever way of halving the tail ends you have to weave away! At the same time you can crochet over the tail of the old colour. This method saves you from having to weave away two tails. Score!

Here’s a video showing you how I do it.


Once the crocheting is done, you’ll want to get on to the cross stitch bit, but before you can cross stitch on crochet you have to block the piece – that’s the HANDY TIP 3. If you do it afterwards you run the risk of the cross stitch design going all skewy. The double crochet panels will naturally want to curve and it will be worked tighter than the rest of the placemat, so blocking really is essential here.

So how should I block you ask? It depends on what fibre your yarn is made of. If your fibre is artificial, like acrylic: 1) pin the piece in the shape you want it to be onto a couple of towels on top of your ironing board, wrong side facing up, 2) cover with a damp cloth and then 3) hover with your steam iron over the cloth. Do not let the iron touch the cloth. All you want is a bit of steam to set the shape. Also don’t hover very long – a few seconds will do. If it’s a natural fibre like cotton or linen: 1) dampen the crochet, 2) spread it out on a foam board or layers of towels right side facing up, 3) stretch and lightly tug the crochet until it’s perfectly round or square or whatever shape it should be. Then 4) pin it and 5) let it dry over night. I used cotton for my placemats so this is the method I used. 20140415-183900.jpg

If you’re wondering about the red lines on my foam blocking mat, they were drawn on by me with a Sharpie on a wintry Sunday afternoon a couple of months ago. It took the whole afternoon and was a very boring job, but I’m really glad I took the time to do it. The point of blocking is to get the edges of your crochet straight, so to me it makes sense to have straight lines on the blocking board. (Although looking at the photo I didn’t really follow those lines very well did I…?)

Once blocked you are ready to embroider.

You will need a piece of double crochet to embroider on. Cross stitch onto crochet can only really happen on double crochet stitches. The dense texture and evenly spaced short stitches replicates Aida (the fabric used for cross stitch) perfectly. As an added bonus, when you make double crochet stitches in double knit yarn, your stitches will almost certainly be 5 mm squared, which makes it perfect for designing with quadrille paper. Which brings us to the next item you will need: quadrille paper (it’s like graph paper, but the squares are all 5mm squared). You’ll also need a pencil and of course your eating utensil of choice.

Using a pencil, trace the outline of your knife and fork onto the quadrille paper.

knife and fork outline

Now you fill in each square with a x. Your knife and fork shape will not follow the straight lines, but that’s where creative licence comes in: in conventional cross stitch you also use half stitches but for cross stitch onto crochet, that’s tricky to do, so whenever the line goes through less than half of a square, ignore that square. Here you can see the outline of my knife encase three squares (two full ones and a half), but I only created two cross stitches.

create a cross stitch pattern

The overall effect is still a knife and that’s all that matters.  Creative licence also turned my 4 prong fork into a 3 prong. I just had to forgo a prong in order for there to be unworked space between my prongs. It’s a small sacrifice to make.

Once you have filled in the squares with x’s, go over them with a pen so they are darker and you can see if you are happy with the shape created.

Cut out the shapes and place them on your placemat, moving them around and spacing them evenly. Use pins to indicate the top, bottom and any other points along the knife or fork that you want to be sure to get right. I placed pins where the prongs stopped and where the shape changed from xxx to xx. These are just guides to keep you on track.

place cross stitch pattern on crochet

Now you’re ready to start cross stitching. You’ll soon get the hang of it and will almost naturally feel where the stitches have to go. The key to neat cross stitches is to keep the bottom stitches all slanting in the same direction, and the top ones in the opposite, but same, direction.

cross stitch onto crochet

cross stitch on crochet

When you’ve finished your embroidery, crochet a border of double crochet stitches in the main colour all around your placemat to visually pull it all together. Make three double crochets in the corners. Weave away the (very few) tails you have left – remember Handy Tip 2? – and maybe block it again just be sure that the placemats are perfectly straight on the sides and pointy in the corners.  That’s all there is to it. Easy, right?

IMAG0241

IMAG0236

Doesn’t it look great?! Now that you know that one square on quadrille paper equals one double crochet square in double knit yarn, you can draw – and therefore cross stitch – anything on your crochet! How about cross stitching the words “breakfast” “lunch” or “dinner”? Or personalising the placemat with the name of each of your family members?


Hexagons In Bloom patterns

22 Sunday Dec 2013

Posted by Natasja in Crochet For Kidneys, My crochet, Part 2, Pattern

≈ 9 Comments

Tags

crochet pattern, free pattern, hexagon, hexagon pattern

Looky what we have here! Colourful hexagons featuring bobly flower centres. It can only be Hexagons In Bloom.

Hexagons In Bloom
Hexagons In Bloom
Hexagons In Bloom
Hexagons In Bloom
Hexagon In Bloom (shells)

As promised last week and on Instagram, this post is my pattern for not one, but two types of hexagons specifically designed for our Crochet For Kidneys Part II blankets. They measure 15 cm from side to side and has the white border that you all voted for.

The plan was to only change the shape of my Granny Square In Bloom to a hexagon, but when I started playing with my Vinni’s Colours Nikkim, the creativity bug just took over. I ended up changing the flower (no raised petals), and as you can see, I also made two versions for the body of the hexagons. I honestly couldn’t stop playing. I blame the yarn. I don’t think it’s hand-dyed with dye, it’s dyed with creative juices.

The colours I used for my hexagons are Blue-Red, Red Violet, Cloud, Fern, Lime, Denim, Plum and Violet. It was so much fun going into my shop garage to choose the colours for my hexies. Like a kid in a sweet shop I tell you! (You can click on any of the shade names to go straight to my Etsy shop where you can buy a ball for £3.50.)

If you need any help with rounds 1 to 4, you can have a look at the photo tutorial for Granny Square In Bloom, as the flower instructions are the same up to round 4 (apart from there only being 6 popcorns in the hexagon, but 8 in the square).

I included a few photos that should help you figure out what to do in Round 4 and Round 5.

Hexagon In Bloom – shells

Hexagon In Bloom Shells

This pattern is written in US crochet terms
(US sc = UK dc, US dc = UK trb, US hdc = UK htr)

Hook: 3.5 mm

Yarn: Five shades of DK cotton. If this pattern is used to make hexagons for the Crochet For Kidneys Part II, one of the five colours has to white and should be used for Round 10.

Make a magic ring with colour A.

Round 1: Chain 1, 6 sc in ring, slip stitch in chain. 6 sc.

Round 2: Chain 1, 2 sc in each sc, slip stitch in chain. 12 sc.

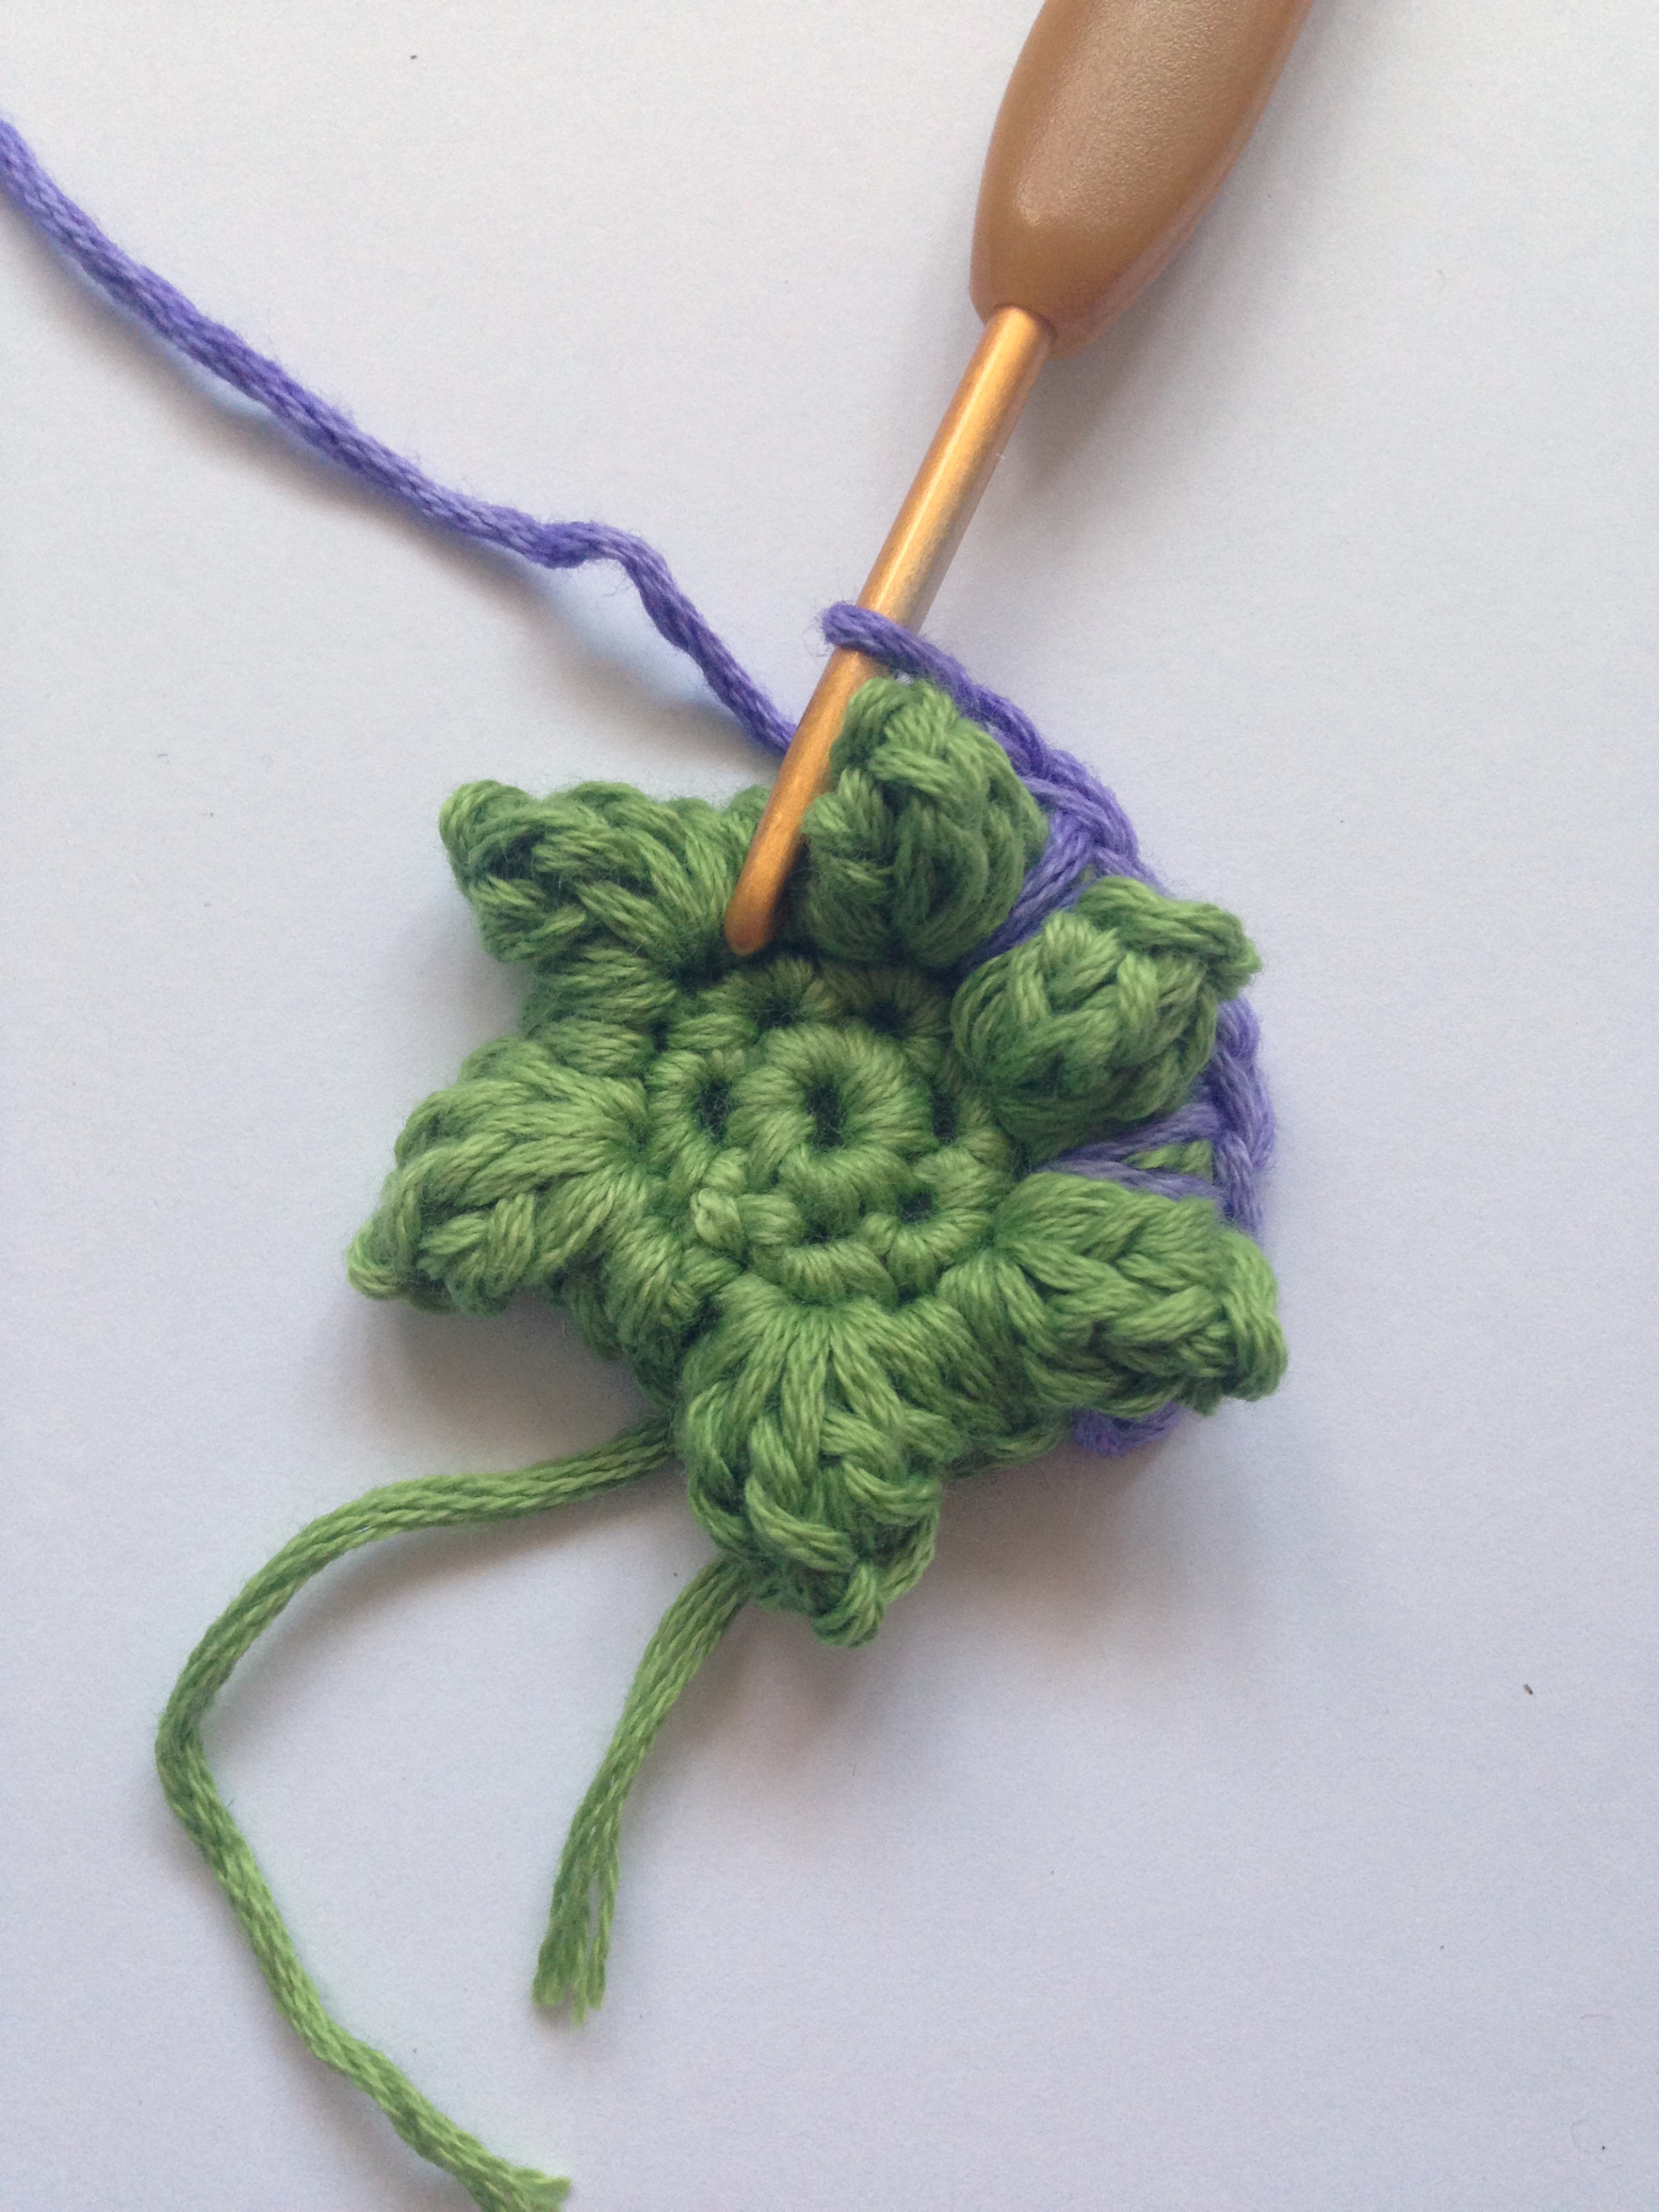
Round 3: Chain 3 (count as dc.) *Popcorn stitch, 1 dc* Repeat from * to *. Join with slip stitch in chain. Six popcorns made. Fasten off colour B.

Round 4: Join colour B to any Popcorn stitch. Chain 1, 2 sc in same stitch. *Long sc over dc (crochet hook should be inserted in the sc of round 2) , 2 sc in Popcorn* Repeat from * to *. Join with sl st to top of starting chain. 18 sc. Fasten off colour B.

IMG_4494

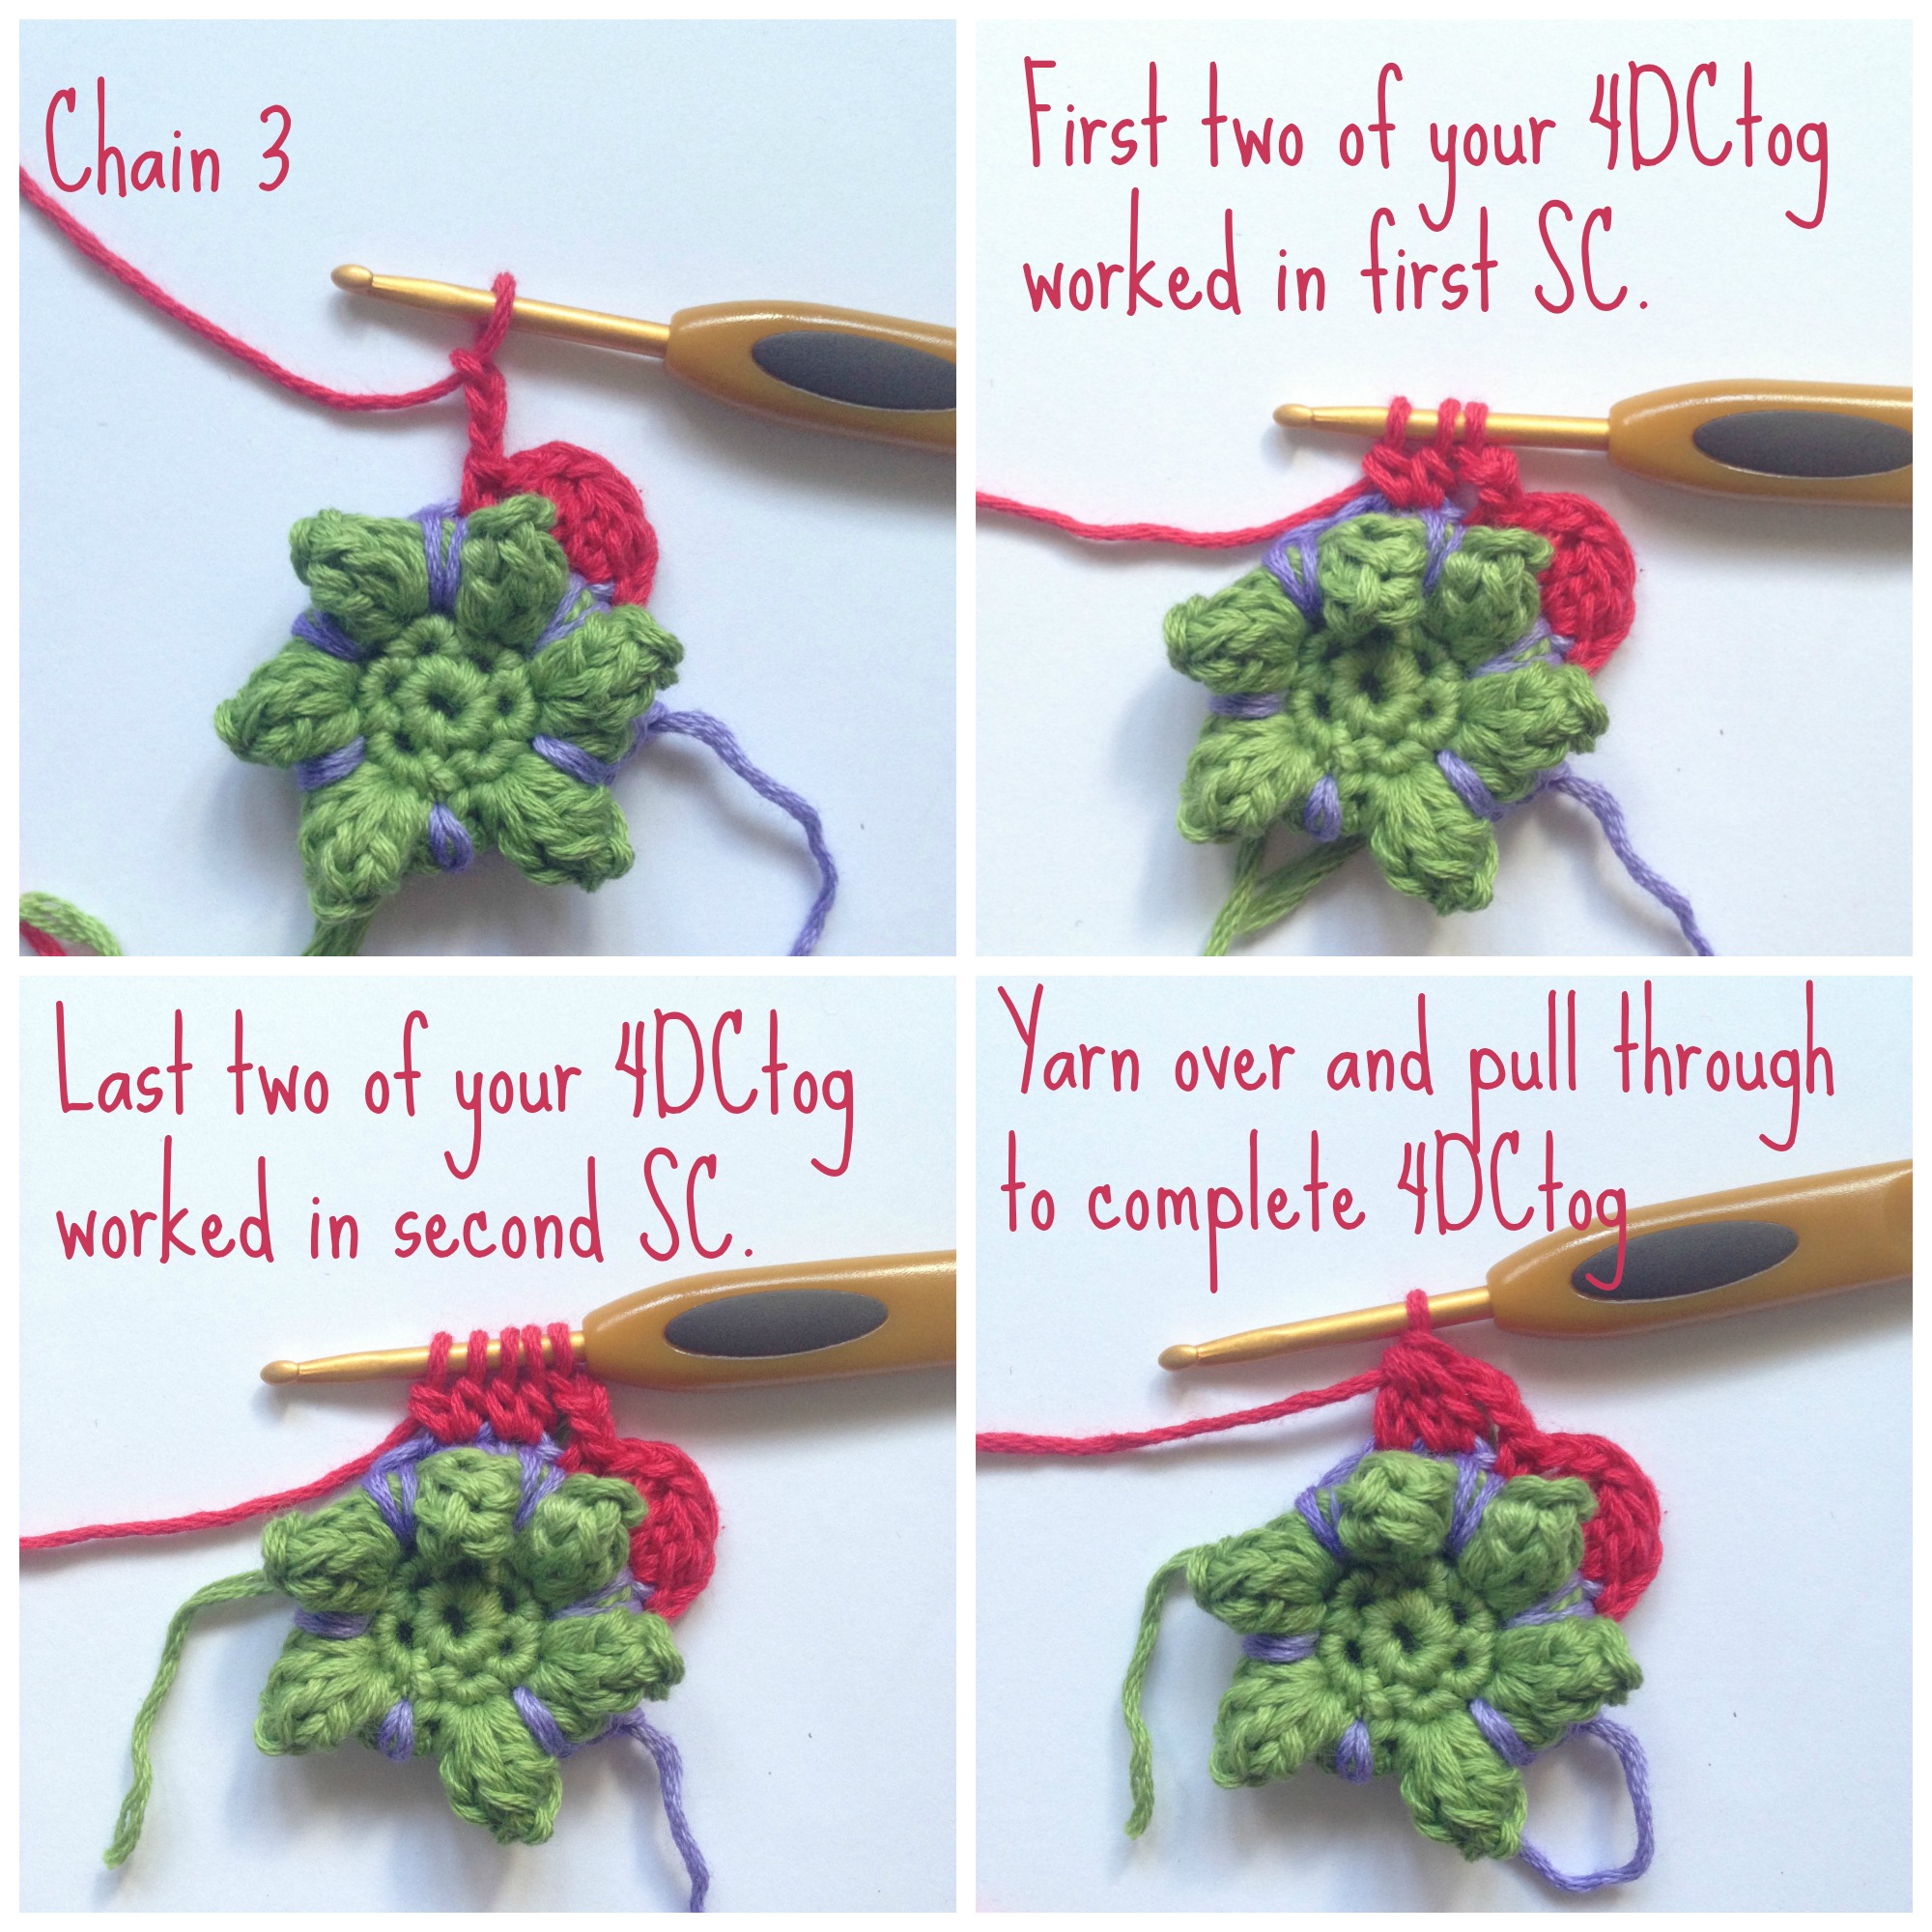
Round 5: Join colour C to long sc of round 4. Chain 1, 1 sc in long sc,  chain 3, *dc4tog working first 2 legs in first sc and next two legs in next sc, chain 3, sc in long sc, chain 3*. Repeat from * to *. Join with sl st to starting chain. Fasten off colour C.

4DCtog collage

Round 6: Join colour D to sc between flower petals. [Chain 3 (count as dc), dc, chain 2, 2 dc (corner shell made)], *chain 1, sc in cluster of round 5, chain 1, corner shell*. Repeat from * to * end. Join with sl st at top of starting chain. See Good To Know.

Round 7: Chain 4 (count as dc plus 1 chain) [2 Dc, 2 chain, 2 dc]  in chain 2 space of round 6. Corner shell made. 1 Chain, 3 dc shell in sc, chain 1, corner shell in 2 chain space of corner shell of round 6. Continue working 3 dc shell in each sc and corner shell in each 2 chain space, separated by 1 chain to last sc. 2 dc in last sc. Join with sl st to 3rd chain of starting chain.

Round 8: Chain 3 (count as dc), 2 dc in chain space (3 dc shell made), chain 1, corner shell in 2 chain space of corner shell of round 7. Continue working 3 dc shell in each chain 1 space and corner shell in each 2 chain space, separated by 1 chain. Join with sl st to 3rd chain of starting chain.

Round 9: Chain 4 (count as dc plus 1), 3 dc shell in chain 1 space, 1 chain, corner shell in 2 chain space of corner shell of round 8. Continue working 3 dc shell in each chain 1 space and corner shell in each 2 chain space, separated by 1 chain to last chain 1 space. 2 Dc in last chain 1 space. Join with sl st to 3rd chain of starting chain. Fasten off colour D.

Round 10: Join colour E. Chain 2 (count as hdc). Continue working 1 hdc in each dc of round 10 – do not work a hdc in the chain spaces. Work *1 hdc, 2 chain, 1 hdc* in corner shell spaces. Join with sl st in chain.

Good To Know: Unlike granny squares, corner shells of granny style hexagons consist of groups of 2 dc, whereas the corner shells of granny squares are groups of 3 dc.

Hexagon In Bloom – solid

Hexagon In Bloom solid

This pattern is written in US crochet terms
(US sc = UK dc, US dc = UK trb, US hdc = UK htr)

Hook: 3.5 mm

Yarn: Five shades of Vinni’s Colours Nikkim DK cotton. If this pattern is used to make hexagons for the Crochet For Kidneys Part II, one of the five colours has to white and should be used for Round 10.

Follow this instructions as for Hexagon In Bloom – shell to Round 6.

Round 7: Chain 3 (count as dc); *dc in next dc, [1 dc, 2 chain, 1 dc] in 2 chain space, dc in each of the next two dc, dc in 1 chain space, dc in sc. Continue working dc in each dc and in chain spaces of round 6 and [1 dc, 2 chain, 1dc] in each 2 chain space. 9 dc on each side of hexagon.

Round 8 and 9: Work dc in each dc of round 7 and [1 dc, 2 chain, 1 dc] in chain spaces of previous round. Round 8 will have 11 dc on each side of hexagon. Round 9 will have 13 dc on each side of hexagon. Fasten off colour D.

Round 10: Join colour E. Chain 2 (count as hdc). Continue working 1 hdc in each dc of round 9. Work *1 hdc, 2 chain, 1 hdc* in corner shell spaces. Join with sl st in chain.

If you have any questions, feel free to send me a message or comment on the pattern on Ravelry. If you’re on Ravelry please link to the pattern when you’ve used it because I would love to see how your hexagons look. You can also add your hexagons to the Crochet For Kidneys Part II Ravelry group so that we can all gawk and ooh and aaah about your pretty hexagons.

****

Please remember to vote for me in the National UK Blog Awards 2014. You can vote here.

Surbiton fruity yarnbomb update

25 Monday Feb 2013

Posted by Natasja in My crochet, Pattern, Yarnbombing

≈ 5 Comments

Tags

crochet, free pattern, Surbiton, Surbiton Food Festival

I think I’ve had my fill of fruit for now: 14 Days of crocheting fruit (including on the 07:26 to Waterloo and lunch hours in Caffe Nero), four balls of Stylecraft Special Chunky and six balls of Sirdar Hayfield Bonus Chunky later, I’ve made 64 pieces of fruit for the Surbiton Food Festival yarnbomb.

64 Pieces of crochet fruit over 14 days works out to just under 5-a-day. How health conscious am I?!

crochet fruit.jpg

Crocheting the fruit was fun, but doing the stems and leaves and then having to sew the three (tiny) parts together got a bit tedious by the time I got to pear number 15, give or take an orange or two.

Now, thankfully, it’s time to move on to stripes. My favourite thing in the whole world. Just mindless trebles in any colour and I can go as mad and bright as I want. In fact, for the purpose of a yarnbomb the more outrageous the colours the better!

My amazing husband was with me two weeks ago when I went to Surbiton to take measurements. He is a stickler for detail and an excellent draughtsman. With his accurate measurements and my love of colour, the yarnbomb is going to look great!

Yarnbomb stripes for lamppost.jpg

Lovely Alice of Knit n Run 4 Sanity has blogged about her very cute cherries, grapes and strawberry contributions here. She even shares her pattern with us. Thank you so much Alice!!

Just to recap, the details of the fruity yarnbomb is in this post, and the pattern for the crocheted fruit is on this link: Crochet fruit pattern. Anyone can crochet fruit and send it to me, as long as it reaches me before 22 March 2013. Apart from Alice and Louise (the designer of the fruit patterns) I have a lady from Dubai who is contributing and I think one or two from South Africa as well!

If you are also crocheting fruit for the yarnbomb, how many have you made?

All About Ami(gurumi)

21 Wednesday Mar 2012

Posted by Natasja in Other people's crochet, Pattern

≈ 9 Comments

Tags

amigurumi, crochet, free pattern

How cute is this little guy?! Check out his removable scarf and flippers that can balance snowballs! His name is Snuggles The Penguin and was created by Stephanie of All About Ami.

I found Stephanie’s tumblr blog quite by accident, but what a lovely find! Not only does she share the very, very cute amigurumi she makes but she shares the patterns as well! This is the link to the pattern for Snuggles, and you can find all her patterns here.

What about this one: have you ever seen a cuter dragon?!?

Stephanie created Dragon from a drawing by Kim of Oborocharms. From a drawing I tell you! My head can’t work out how anyone can look at something in 2D and then create a 3D crochet piece from that. Huh? That’s so clever! I barely understand crochet diagrams!

When she had finished Dragon, Stephanie told Kim that she made a amigurumi dragon based on her drawing and a friendship was born which lead to Snuggles the Penguin, which Stephanie crocheted based on one of Kim’s charms.

I love the “back story” for Dragon and Snuggles: two creative people working together is bound to create something special. And as a bonus, we can have a piece of that action by hooking our own Dragon and/or Snuggles.  Result!

Spring is here!

01 Thursday Mar 2012

Posted by Natasja in My ramblings, Other people's crochet

≈ 3 Comments

Tags

crochet, crochet bikini, crochet swimwear, free pattern

Greetings on this First Day of Spring for us Northen Hemisphere peeps.

I can really feel, and see, the change all around and I love it! It’s noticeabely lighter in the mornings when my alarm goes off, temperatures are much milder (13 degrees feels like a heatwave!) and daffodils, like these in our back garden, are all around.


I’m also seeing more summery clothes in the shops and online and a lot of these summery things include crochet.  These little numbers I found on Free People. I don’t have the guts to carry off a crocheted bikini or swimsuit, but man it looks good!!!

Source: freepeople.com via Natasja on Pinterest

Source: freepeople.com via Natasja on Pinterest

Source: freepeople.com via Natasja on Pinterest


Who knew crochet could be this sexy?!

If you want to hook your own sexy little crochet number, Garnstudio has four free crochet bikini patterns. 

I won’t be doing a blogpost showing you a crocheted bikini however. I think the closest I will get to crochet + beach, is sitting on the beach crocheting something, in my boardshorts and spaghetti strap t-shirt.  Not quite the same, but it’s close enough.

Alta’s infinity scarf

27 Monday Feb 2012

Posted by Natasja in My crochet, Pattern, Ta-daah!

≈ 1 Comment

Tags

crochet, crochet pattern, free pattern, myPicot, yarn

Do you remember the Infinity Scarf I made for my friend Helmien? I blogged about it here.

Well, Sunday evening I finished the third infinity scarf. This one is for Helmien’s friend, Alta. I’ve met Alta twice and she’s just a lovely as Helmien. Obviously with the same good taste 😉

Helmien tells me that she and Alta went to a coffee shop the day after I gave Helmien her scarf. When Helmien got up to go to the ladies, a woman followed her to the ladies to ask her where she got her scarf because she wants one too! Lovely Helmien told her about my Etsy shop and told the woman (who is a South African, visiting her daughter here in England) to Google “crocheTime” if she wants to contact me. I haven’t heard from the lady (yet), but it’s still an amazing story don’t you think?!

Anyway, back to this scarf. Alta wanted a scarf purely in Drops Delight shade no. 15 because she loves red. I think the red really pops in this yarn. It doesn’t matter if you wear this scarf with a red or blue coat, your eye will always be drawn to the red – ideal for a red-lover like Alta.

As with my and Helmien’s scarfs I also used a My Picot pattern. This one is pattern no. 2005. It’s the most intricate of the three I’ve used so far – not the type of pattern you can mindlessly hook whilst watching Desperate Housewives! I tried. I had to undo a couple of rows.

I used a total of five balls of yarn and a 3.5mm hook. Next time I think I will make the scarf a bit wider with this pattern, as it’s a very open and lacey which means it needs to be quite wide so that it will scrunch up better around your neck.

Don’t you just loooove this yarn? Even the most boring crochet pattern (which My Picot no. 2005 certainly wasn’t) will be a pleasure to hook because the numerous colour changes keep things interesting.

For now (i.e. until next Winter) I’m finished with infinity scarfs in Drops Delight. The next project awaits: a special order round cushion for my biggest supporter.

Helmien’s infinity scarf

11 Saturday Feb 2012

Posted by Natasja in My crochet, Pattern, Ta-daah!

≈ 5 Comments

Tags

crochet, crochet pattern, free pattern, myPicot, yarn

Helmien and I have known each other almost 20 years. We were in High School together in South Africa, went our different ways after High School and then in 2009 – 14 years later – I bumped into her at London Waterloo station.  What’s the odds, and what a happy coincidence! We are obvioulsly meant to be in each other’s lives no matter where on earth we are.

It was for Helmien that I made the second infinity scarf. She saw mine last month and asked whether I would make her one as well. Of course I would!! I used the same brand of yarn, Garnstudio Drops Delight, but her scarf is in shade no. 15 (mine was shade no. 10). I used two balls of shade no. 10 that I had left over for Helmien’s scarf, because she really loved the bright greeny-blue shades.  (By the way, until 29 February, Drops Delight is discounted by 25%. Just saying.)

I also followed a MyPicot Openwork and Lace pattern like I did for mine, but for Helmien’s infinity scarf I used pattern no. 2030. I can highly recommend the MyPicot patterns. Seriously. Give it a go.

Doesn’t she look beautiful?!

Here we are in our (almost matching) scarfs.

Love you, my friend!

Teacup crazy

09 Thursday Feb 2012

Posted by Natasja in My ramblings, Pattern

≈ 3 Comments

Tags

crochet, crochet pattern, free pattern, Lionbrand, teacup

You all loved the teacup and saucer that I found on Etsy yesterday so much, I thought I’d share another one with you: a teacup pincushion! It even has a little teabag peeking out. So cute!

It’s a bit more practical than yesterday’s teacup, but just as pretty.

Imagine crocheting it in a pastel colour and adding some flowery embroidery?! You can find the pattern here (you have to log into the Lionbrand website to access the pattern).

Anyone fancy a cuppa? Cucumber sandwich and scones maybe? Ooh, I’m off to the kitchen now for my favourite, English Breakfast with soy milk *little finger in the air*

Cufflettes

01 Wednesday Feb 2012

Posted by Natasja in My crochet, My ramblings, Pattern

≈ 1 Comment

Tags

crochet, crochet pattern, free pattern, Mollie Makes, wrist warmer

Cufflettes. Say it slowly. Savour the sound. It sounds so deliciously French* and classy, doesn’t it? 

But what am I going on about? Cufflettes? It’s the name of a pattern for, what is commonly known as, wrist warmers. Oh, cufflettes sound so much better don’t they?! 

The pattern was designed by Kalurah and is available as a free download from Ravelry. Just click here.

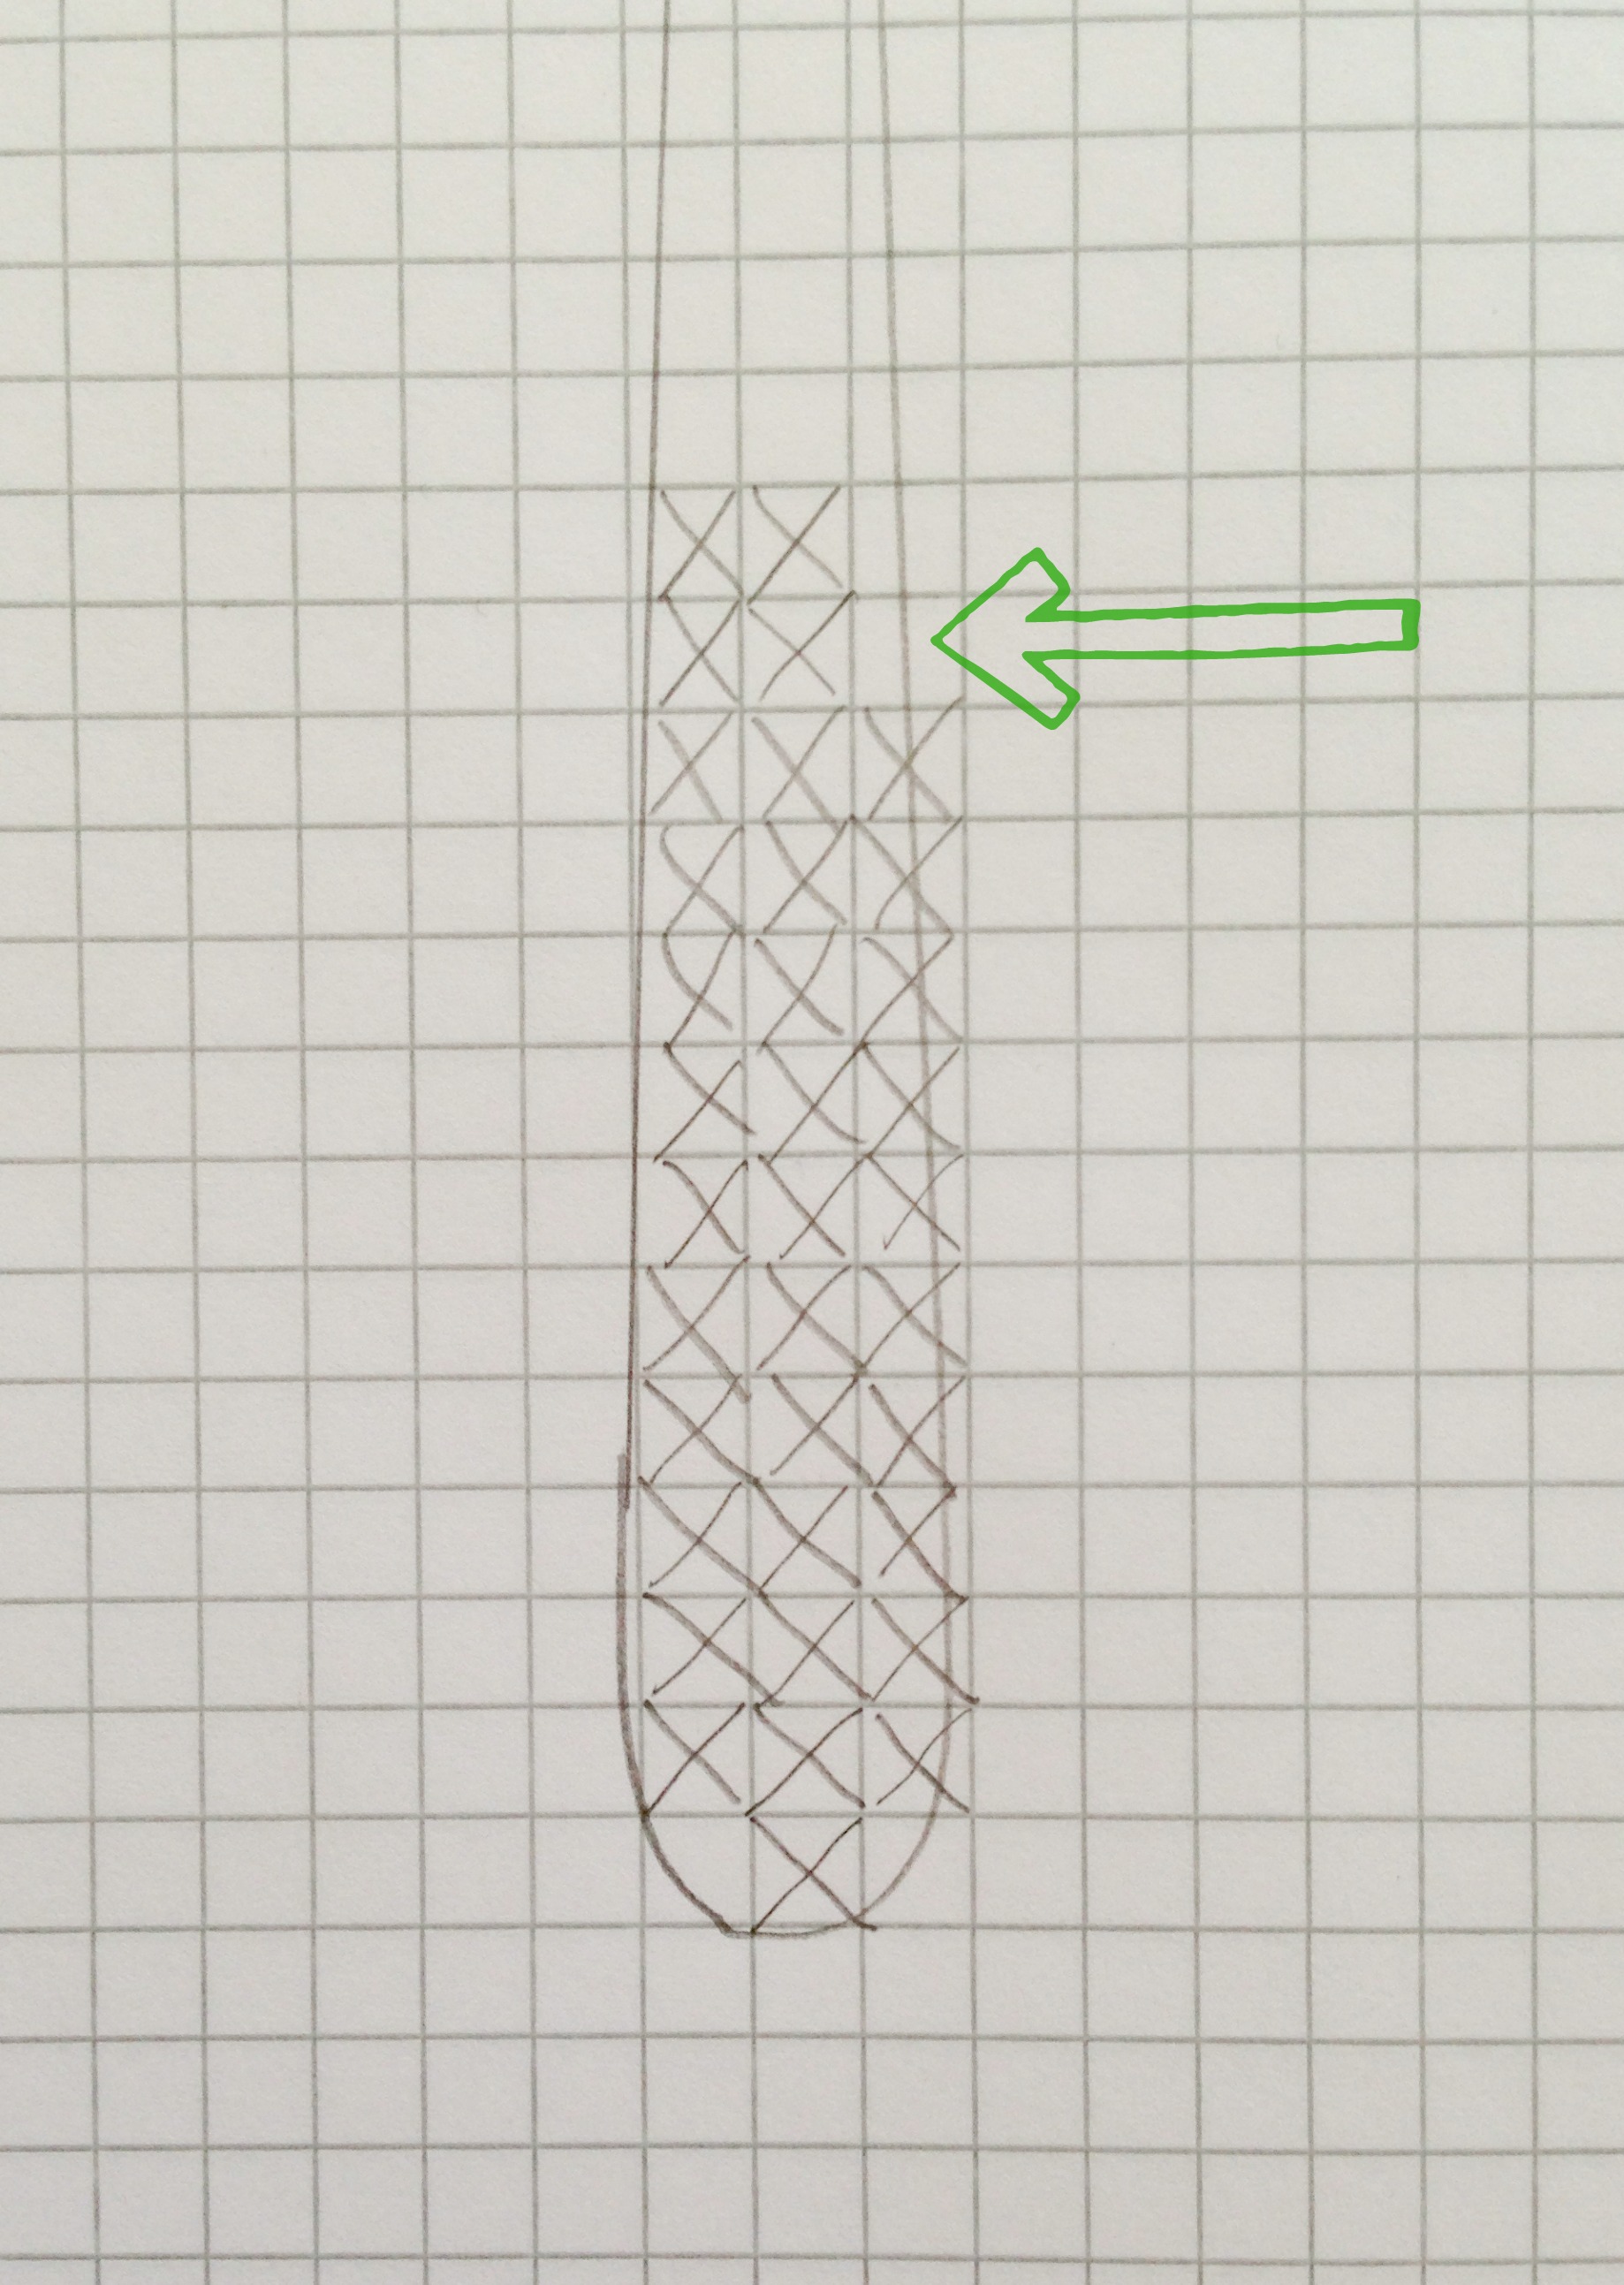
I crocheted  these cufflettes last winter (it only took a couple of hours) and had to get them out again this week. I wear them over my fleece gloves because the wrist section of the gloves are just not long enough – when temperatures reach 1 degree every little piece of exposed skin need to be covered!

I just love how these look peeking out under a sleeve, or worn just as they are. I, of course, jazzed them up a bit with mismatched buttons. I really do have a thing for buttons.

If you like wrist warmers, you will fall in love with the wrist warmers on the cover of Mollie Makes issue 10.

They scream vintage, lace and Victorian. Have a look on the Mollie Makes blog, here for more information.

*I’m currently reading “Madame Tussaud” by Michelle Moran which is set during the French Revolution. All the men in the book seem to be wearing coulettes (knee-breeches) so that may be why “cufflettes” has such a French ring to me. Cufflettes. Cufflettes. Ooh, I still love that word. It could so easily have been cuffextenders, or longcuffs, but no. It’s cufflettes. Beautiful!

← Older posts

Enter your email address to follow this blog and receive notifications of new posts by email.

Join 2,706 other subscribers
Follow crochetime on WordPress.com

Follow on Bloglovin’

Social

  • View NatasjaKing’s profile on Instagram
  • View Natasja King’s profile on Pinterest

The eBook I wrote

Recent Posts

  • Edward’s Crochet Imaginarium and two pink monsters
  • Review of How To Crochet book by Mollie Makes
  • Buttercup knit and crochet cardigan
  • Kimono Cardigan
  • The Sky is the limit

Categories

As seen on TV Book reviews CAL Camping Crochet For Kidneys Etsy Etsy seller interviews Folksy GIF In the press Knitting Markets My book My crochet My knitting My ramblings Other people's crochet Part 1 Part 2 Part 3 Part 4 Pattern Photo Tutorial Positive Thinking Ta-daah! Terrific Tuesdays Video Watch me crochet Wednesdays Yarnbombing

Instagram

No Instagram images were found.

My designer profile

Create a free website or blog at WordPress.com.

  • Follow Following
    • crochetime
    • Join 718 other followers
    • Already have a WordPress.com account? Log in now.
    • crochetime
    • Customize
    • Follow Following
    • Sign up
    • Log in
    • Report this content
    • View site in Reader
    • Manage subscriptions
    • Collapse this bar
 

Loading Comments...
 

    Privacy & Cookies: This site uses cookies. By continuing to use this website, you agree to their use.
    To find out more, including how to control cookies, see here: Our Cookie Policy